The Easy (and Realistic) Way to Make, Store, Serve Homemade Baby Food Without Spending All of Your Free Time Doing It.
Disclaimer #1, for those of you with babies: I’m not a pediatrician or a medical professional of any kind. This post is for informational purposes only, since so many of you asked me to share my experience & tips for homemade baby food puree.
Disclaimer #2, for those of you without: I promise this is not the start of a downward spiral into the realm of Kid Food. There are plenty of other blogs out there that do it, and do it much better than I ever could! But so many people have asked about my baby food system, that allows me to make my own without going bananas-insane from the extra work. So, here we go! But rest easy: this is only one of 2 planned “kid food” posts, and that’s all I have planned.
The thing they most don’t tell you about parenting – because you’re totally informed about the whole labor-sucks-sleep-deprivation-sucks-but-just-wait-until-they-smile-and-you-forget-all-the-rest part – is how hard it is to feed a baby. At least it is for my baby.
I mean, he’s healthy, he’s growing, I’m not looking for pity, etc. But I was surprised. First, nursing didn’t work. He had severe tongue and lip ties that prevented him from learning to nurse properly and it was just not in the cards once we finally had the ties corrected. So, we switched to bottle feeding a mixture of pumped milk and formula (#fedisbest).
After months of patiently (sometimes not so patiently) fighting to get every last ounce into Baby Bake, and painstakingly tracking his intake, it was finally, mercifully, time to introduce purees.All of a sudden, things were easy/er. He ate! Reasonably volumes! In one sitting! (That, of course, changed drastically and abruptly, as things do – but more on that later.) He was back on his weight curve, which we’d been fighting to keep him anywhere near for months. And, I have to be honest, it was fun to see him try one food after another and invent combinations.
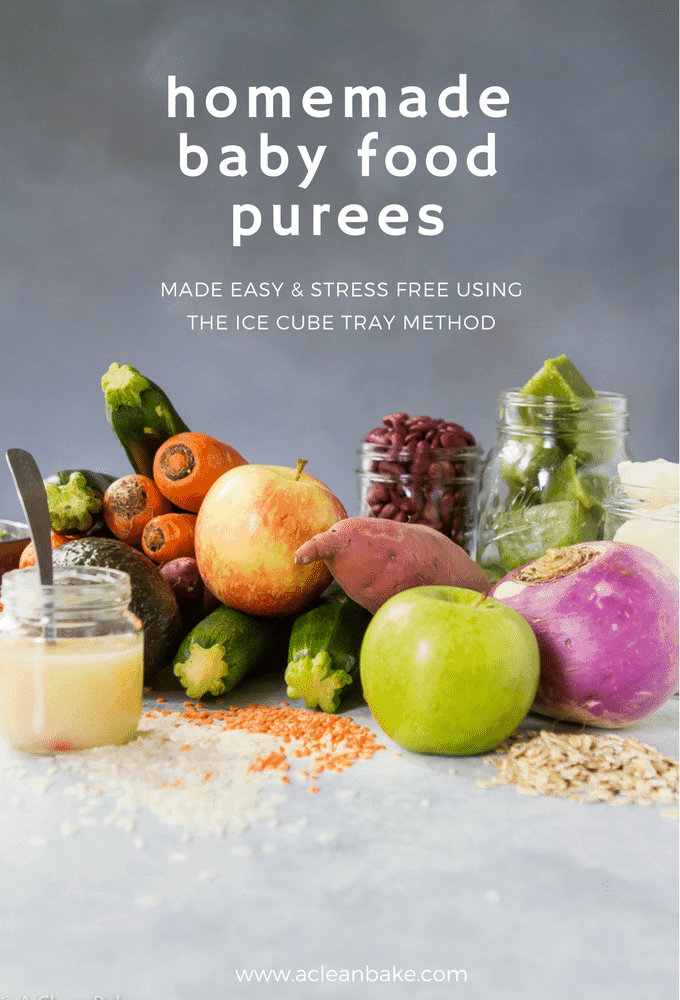
And, yeah, of course, I made my own homemade baby food. But wait! I’m not some crazy lady with too much time on my hands. It’s easy – so much easier and cheaper, in my opinion – than jarred and bagged food.
I go to the grocery store. I buy food. He eats some of it. Everyone is happy.
But enough sleep-deprived rambling! My goal today is to answer all of the questions that I’ve gotten over the last couple of months about making and feeding your child homemade baby food without losing your mind.
Introduction and First Foods
We waited until 6 months to introduce purees, even though our pediatrician said that it would be ok anytime after 4 months. Some recent research has indicated that babies’ guts may not be fully sealed until 6 months, and that the leaky gut effect could, possibly, result in an increased risk of food intolerance.
Whether or not that turns out to be true, the possibility was enough for me to avoid the risk. Having endured and gone through the long, challenging process of healing my gut (and still going through it), I wanted to avoid any risk of putting Baby Bake through that, no matter how minute.
So, 6 months was right for us. Go with what’s right for you, per your pediatrician.
(This seems like a good moment to remind you that whenever you are introducing purees, and whatever you choose as the first food(s), make sure you are following the Four Day Rule! Talk to your child’s doctor for more info about this.)
Many people said rice cereal “should” be the first food, but, well, that wasn’t right for us. While I have no issue giving Baby Bake grains, I neither wanted to start with grains, nor give him processed nutrient-stripped cereal just to fill him up when real, whole foods (that also, incidentally, filled him up) were an option. So we went with:
- Avocado. First pureed with milk, formula, or water until it was almost liquid. Then, gradually, reducing the liquid until you need almost none and you’re just pureeing the avocado alone. Eventually I stopped pureeing it altogether and just mashed it with a fork. If you’re just mashing it, make sure you are using a very soft avocado. If you can completely mash a piece easily with your tongue against the roof of your mouth without using any teeth, it’s probably the right consistency.
- Sweet Potato. Steamed until soft enough to mash with a fork, then pureed with milk, water, or formula until it is almost pourable, but doesn’t run off of the spoon. Make sure it is completely smooth and no lumps remain. I find that the Magic Bullet with the flat blade and small canister are the best tools for achieving a really smooth puree easily. Since sweet potatoes are so starchy, you’ll definitely need a little liquid to puree it, even if your child is used to very thick purees.
- Carrot. Peel and cut them, then prepare them like sweet potatoes.
- Green Beans. To make life easier, I bought these frozen. I also wanted to use organic and frozen organic green beans are typically more affordable than fresh. Plus they’re already cleaned and prepared, so it’s a win/win, if you’re looking for ways to save time. All you have to do is defrost them in the microwave or on the stove. Either way, make sure you are submerging them in water while they defrost and cook them a little longer than you might for yourself, so they will soften. Then puree with a tiny bit of liquid until smooth.
- Banana. Bananas are a tricky one because, by the time they are ripe enough to get them very smooth, they are very high in sugar and may upset your child’s stomach. So we had a couple of false starts before Baby Bake could tolerate them. It may be fine right away for your child.
My Ice Cube Tray Method
I started by offering each food separately to make sure I was adhering to the 4-day rule. But once Baby Bake had tried enough foods to start mixing and matching, and I didn’t want to give him the same food a few times a day for several days in a row, I developed a system for batch cooking and storing a variety of purees, so that I could mix and match, thus feeding him something a little different every day without a ton of work.
There are several variations of this method floating around the internet, but this is mine.
Here’s exactly how to do it:
- Choose a fruit, veggie, grain, legume, or even meat.
- Prepare it: wash, trim, peel, rinse, etc – whatever it needs.
- Chop it into small pieces. This isn’t necessary, but aids in cooking it quickly and evenly. Obviously skip this if you’re cooking grains.
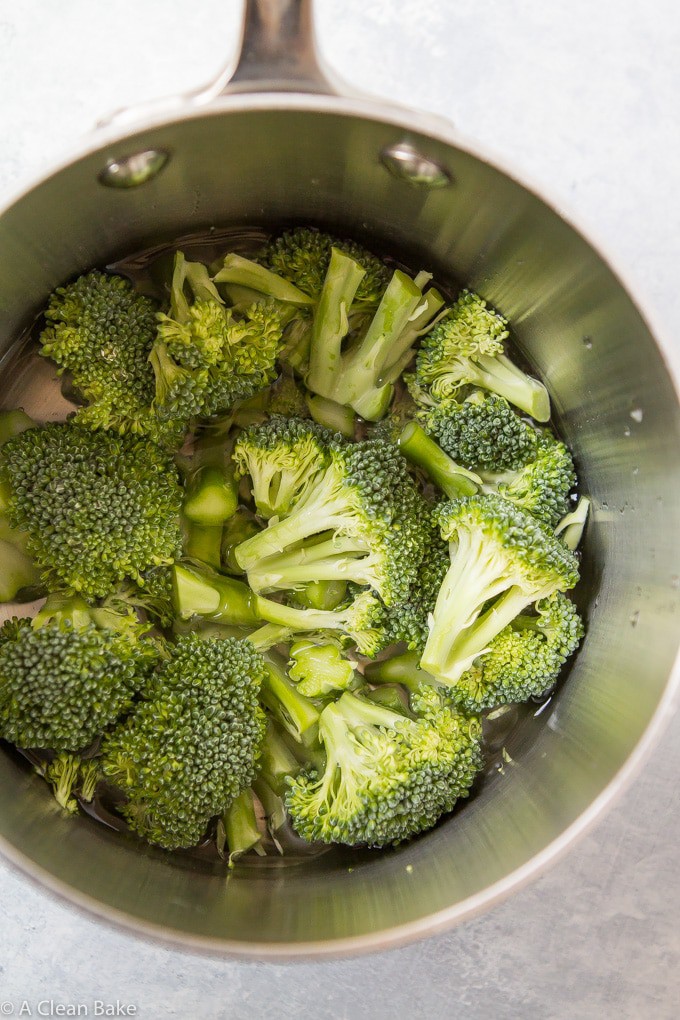
- Boil it until very soft.
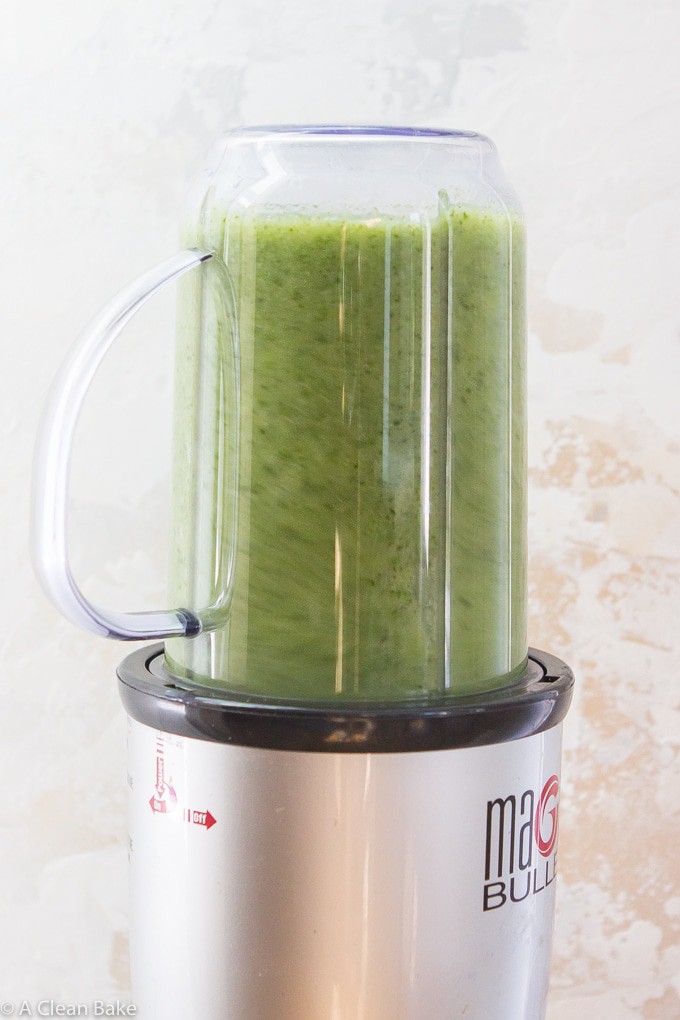
- Transfer to a small blender or food processor with a little liquid (unless you are using a high water-content food, like zucchini).
- Puree until smooth.
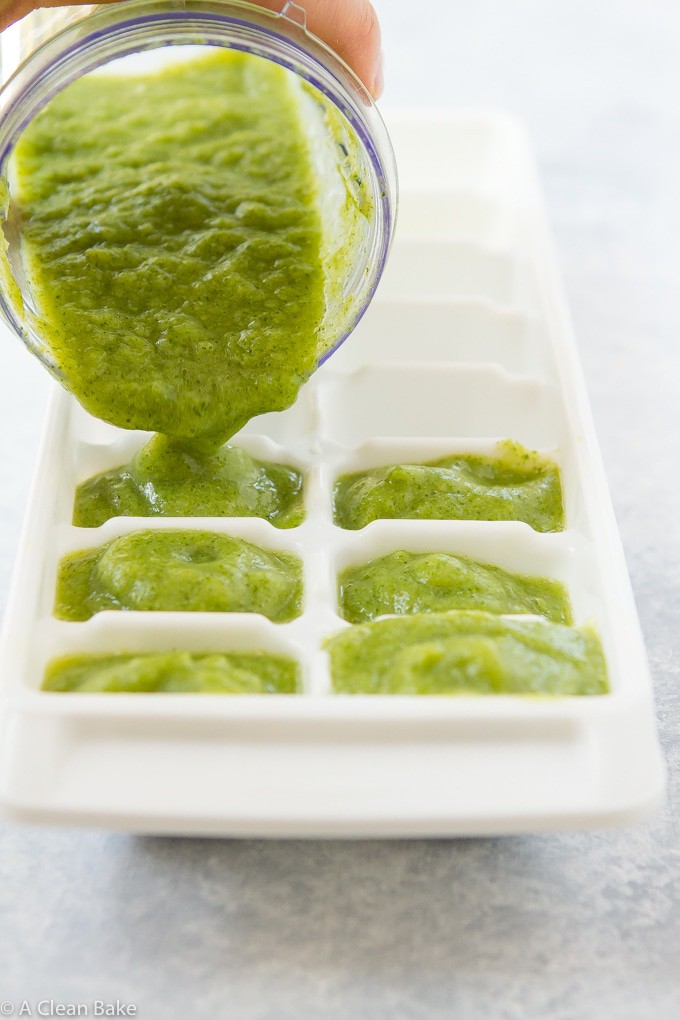
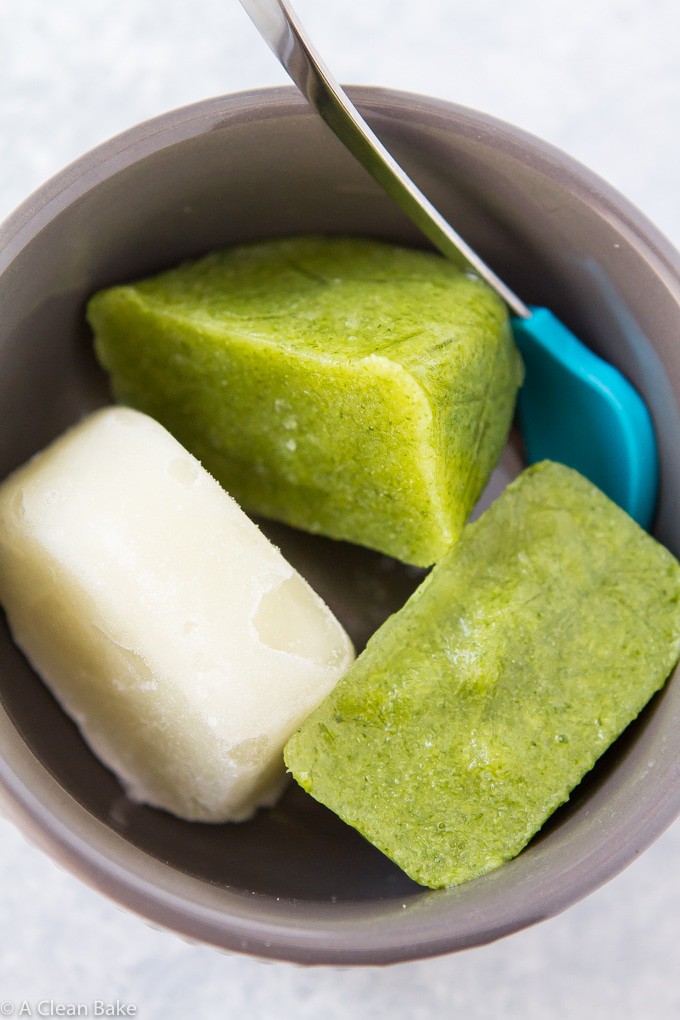
- Freeze the puree in ice cube trays. When you’re just starting out, fill the compartments in the tray halfway, or use small trays. If you know your child eats the food well, fill the compartment of a standard ice cube tray all the way. You can add several different foods to the same tray.
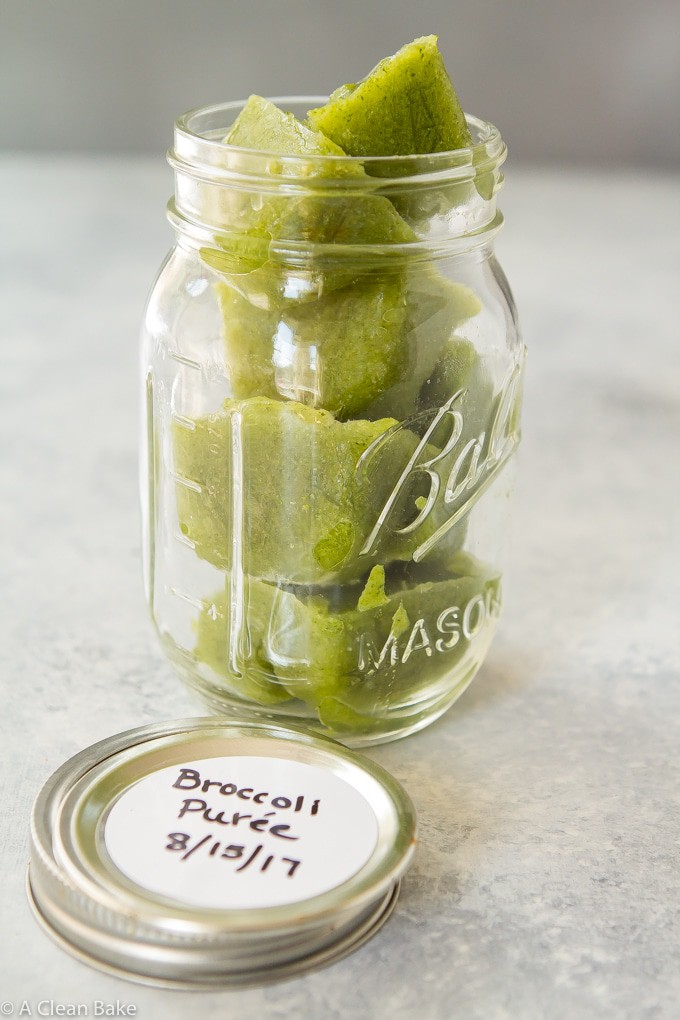
- Transfer the frozen cubes to a cold-proof container. Put each type of puree in its own airtight container. You can use a glass jar, plastic container, or zip top bag. Write the type of food and the date it was made on the container label (I keep these labels and a Sharpie in a kitchen drawer so I never have to hunt for labeling supplies).
- Remove a cube or cubes for each meal and defrost on the stove or in the microwave.
- Mix and match flavors to create an endless variety of combinations.
- Stop wasting your money on jars and pouches!
(keep scrolling for some of my favorite flavor combinations!)
Combinations
Now that you have a freezer full of puree cubes, the sky is the limit! You can, of course, stick to one food at a time, but once your baby’s palate has adjusted to each food on its own, it’s fun to mix it up.
I even add a (teeny tiny) pinch of spices to some mixtures. If you want to do the same, stick to the teeniest, tiniest pinch – so little that you can’t possibly imagine it is detectable. Trust me: your baby will taste it!
Here are a few of my favorite puree combinations:
- A cube of carrot + a cube of butternut squash + a pinch of nutmeg
- A cube of apple + a cube of GF oatmeal + a pinch of cinnamon
- A cube of peas + a cube of zucchini + a sliver of fresh basil or mint (optional; you’ll have to puree this mixture again to incorporate the herbs)
- A cube of GF oatmeal or quinoa + a cube of apples + cube of zucchini (optional: punch of cinnamon)
- A cube of sweet potato + a cube of apple + 1-2 Tablespoons whole fat plain yogurt
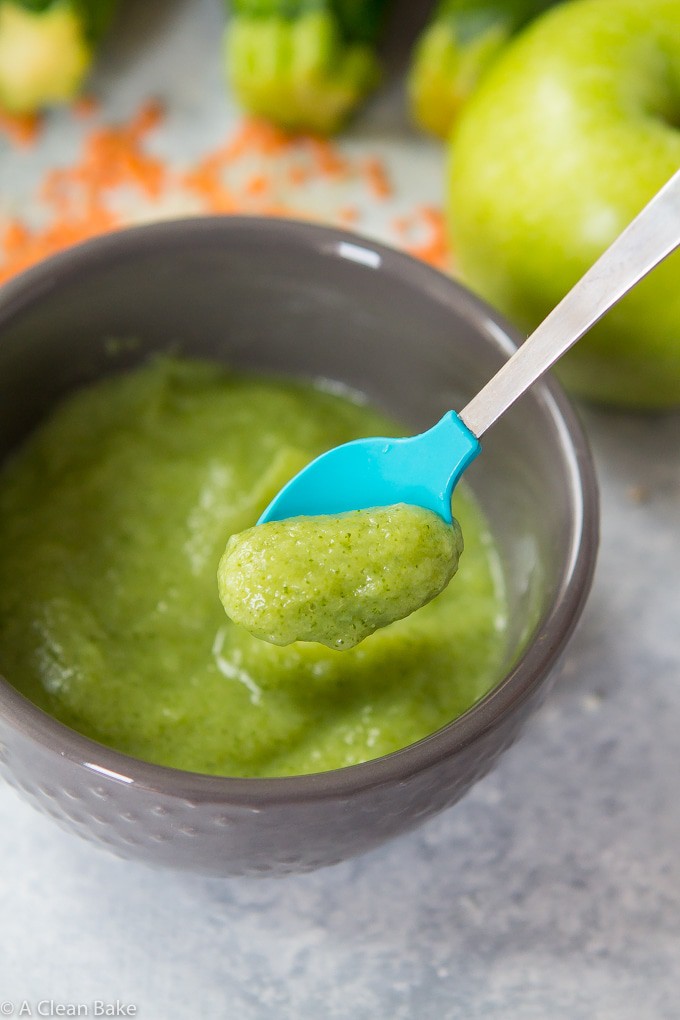
- A cube of broccoli + a cube of spinach + a cube of green beans
- A cube of sweet potato + a cube of chicken (or turkey) + a cube of cauliflower
- A cube of lentils* + a cube of rice + a pinch of cumin (optional – it’s a very strong flavor, so proceed with caution!)
- A cube of carrots + a cube of sweet potatoes + 1/2 tsp unsalted tahini (you can make your own if you want)
- A cube of spinach + a cube of zucchini + a drop or two of fresh lemon juice
*Rinse your legumes (and grains, for that matter) well before cooking them, and consider soaking them overnight, which aids in digestion. To do this, put the beans in a small bowl, and add enough water to cover about 1″ above the beans. Place the bowl in the fridge for about 12 hours. Then drain and cook the beans.
A Note About Allergen Foods
When to introduce purees, and what to introduce in which order varies greatly from child to child, based on their own health history and the family’s. Baby Bake’s pediatrician advised us that, unless there is a family history of an allergy to something, it should be fine to introduce without concern. That’s why you see legumes, grains, and dairy in some of the combinations.
But make sure you are checking with your doctor before adding any new foods, especially high allergen foods, and double especially if there is a history of food allergies in your family!
The combinations above are just examples of what how you can mix and match, and of what I’ve tried with Baby Bake. So feel free to get creative with your combinations!
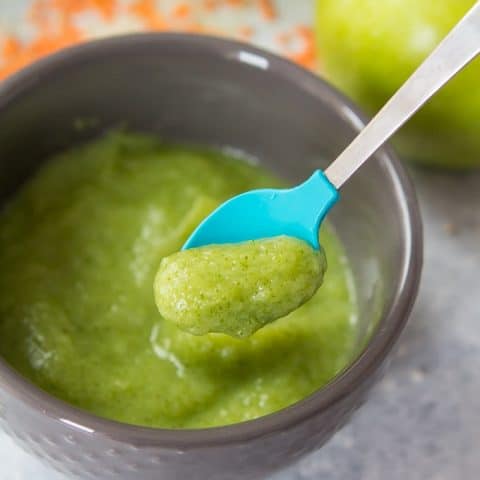
Homemade Baby Food Purees Using The Ice Cube Tray Method
Ingredients
- Fruit, veggie, grain, legume, or even meat of choice
Instructions
To prepare and store:
- Choose a fruit, veggie, grain, legume, or even meat.
- Prepare it: wash, trim, peel, rinse, etc - whatever it needs.
- Chop it into small pieces. This isn't necessary, but aids in cooking it quickly and evenly. Obviously, skip this if you're cooking grains.
- Boil it until very soft. Or steam, covered about 1/3 - 1/2 way with water. Use more liquid for starchier foods, and less for waterier foods. (see note)
- Transfer to a small blender or food processor with a little liquid (unless you are using a high water-content food, like zucchini).
- Transfer the puree to a clean ice cube tray.
- Freeze the puree in ice cube trays.
- Remove cubes from tray and transfer to an airtight container of choice. (e.g. mason jar, or zip top bag)
To serve:
- Defrost as many cubes as needed on the stove or in the microwave.
- Mix and match flavors to create an endless variety of combinations.
- Cool before serving.
Notes
- When pureeing, be conservative about the water to start. You can always add more, but if your puree turns out soupy, it can be a real mess. If you're using starchier fruits and veggies like root vegetables (carrots, potatoes), squash, bananas, peas, or grains or legumes (oatmeal, lentils, etc), you'll need a little more water than if you are using waterier fruits and veggies (e.g. broccoli, zucchini, apples, pears, plums, etc).
- If you end up putting too much water in the mixture, don't throw it out! Just serve it mixed with a starchier vegetable (potatoes are my go-to) or a grain to absorb the excess water. If you want, you can also strain some of the liquid out before freezing, but to be honest, I never do that. It just means more dishes!
- If you're looking to add some calories and nutrition to your purees, replace the water with milk or (prepared) formula. Please consult your child's doctor before doing this, though!
- Portioning note: when you're just starting out, fill the compartments in the tray halfway, or use small trays. If you know your child eats the food well, fill the compartment of a standard ice cube tray all the way. You can add several different foods to the same tray.
- Storage note: I use mason jars or (new, clean) zip top bags labeled with the type of food and the date it was made. Just cross out the date and write the new one when you make a new batch of food.
- In fact, make sure to consult your child's doctor before starting purees, and before adding any new foods to his or her diet. Don't forget that certain foods should never be given to infants, including honey, corn syrup, and salt. Your pediatrician can give you a more specific list of foods to avoid tailored to your child's needs and age.
- I am not a doctor, so - again - make sure you clear any new feeding behaviors with your pediatrician before starting!
kelly smith says
good idea to make homemade baby purees. I am always conscious of baby health. Thanx for share this.
Catori says
Love the ice cube tray!
Nora (A Clean Bake) says
It’s a lifesaver!
Kylie says
Hi! What’s the expiry on making home made purée? 🙂
Nora (A Clean Bake) says
Hi! As long as they are completely frozen in an airtight container, purees should last 2-3 months in your freezer. If you’re just refrigerating them, I’d recommend using them in 3-4 days.