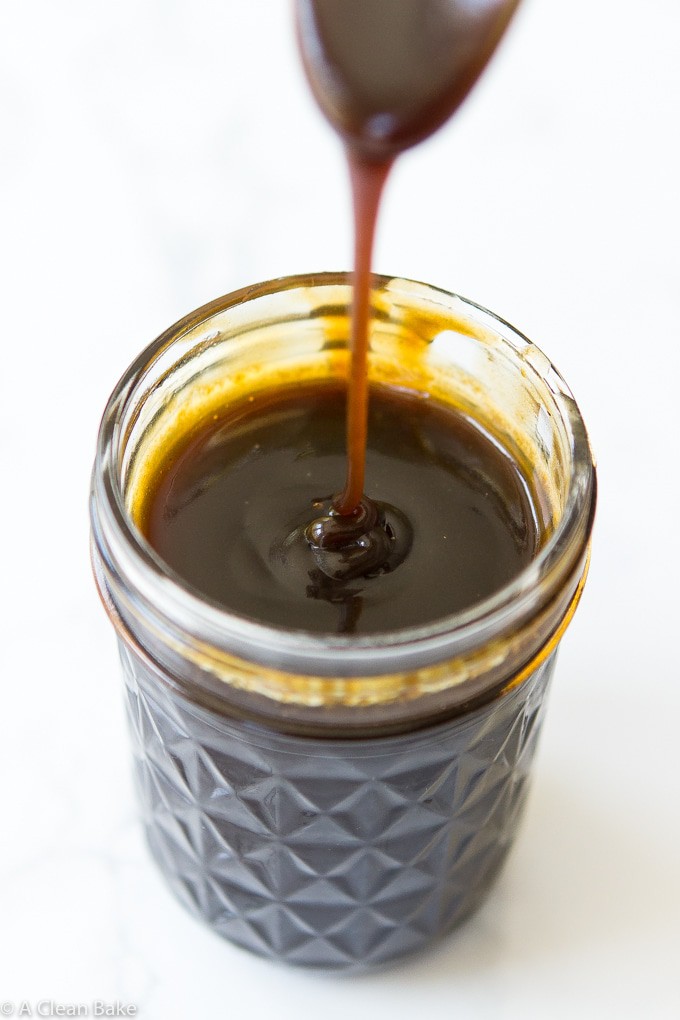
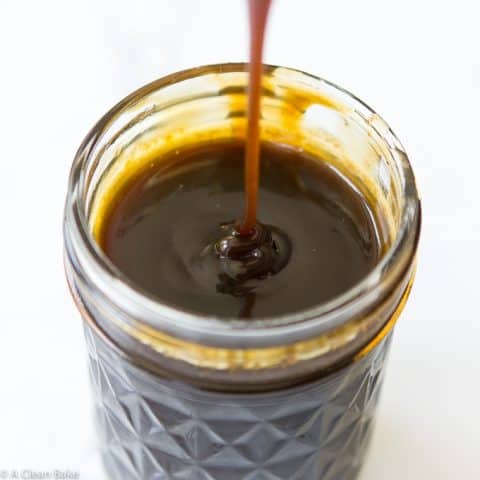
If you’re intimidated by caramel (I know I was), it’s time to change that. This dairy free caramel sauce only takes a few ingredients and a little stirring to achieve sweet and sticky perfection!

Happy Friday! I am just popping in with a very quick post to get you through the weekend.
Unfortunately, here in the Land of Weather That Can’t Make Up It’s Mind, it is supposed to be cold and rainy allllll weekend. Yesterday it was 40, overcast and windy. On Wednesday it was 75, sunny and generally perfect. My head is spinning just trying to keep up. But in case you are in a locale with slightly less high maintenance forecasts, and it’s ice cream weather… well, you know what to do.
There are a million ways to use this sauce besides ice cream, of course, and although I’ll have one excellent (if I do say so myself) application for it next week, you can also use your imagination. I respect you too much to box you and your caramel sauce applications in.
Instead, a few pointers for making and storing it:
- It is made from three key ingredients: coconut sugar, maple syrup and coconut cream (plus a pinch of salt and a splash of vanilla). I know I am a broken record with this stuff, but please use the best quality ingredients you can. I used NOW Foods’s coconut sugar and maple syrup and Native Forest brand coconut cream. The cream comes in 5.4 ounce mini-cans, which is – surprise! – the exact amount you need for this recipe.
- You can also add vanilla extract at the end of the cooking process. It’s not required, but it is highly recommended for the best flavor. The same goes for the salt – leave it out at your own peril.
- I often get questions about substitutions and always try to accommodate you but in this case, I’m sorry, please don’t substitute ingredients. Stevia cannot be used instead of coconut sugar, honey or brown rice syrup cannot be subbed for maple syrup and make sure you are using coconut cream, not coconut milk.
- The recipe calls for a candy thermometer and, well, yeah I’d really recommend getting one. Anytime you’re cooking sugar, five or 10 degrees can be the difference between soft and teeth-cracking or deeply caramelized and burned. Luckily, candy thermometers are very affordable and are great to have around (you can also use them for frying). This is the one I have (it is about $6 on Amazon) and although I don’t use it often, there have been more opportunities to use it than I anticipated and, when I need it, I’m really glad I have it. Plus, caramel. I mean, that’s enough, right?
- Store it in an airtight container with as little air in it as possible. So, pick a container than nearly fits the amount of caramel (one batch fits pretty perfectly in a small canning jar). If there is air in the container, a tough crust will form. But don’t worry – the sauce is still useable. Just heat it in 30-second increments in the microwave, stirring in between (or transfer to a small saucepan and heat over medium heat, stirring constantly), until it is silky smooth again.
- Heat it to slightly warmer than room temperature to serve, so that it is liquified enough to pour.
That’s it! Go make your first batch now, so that you have it on hand for the weekend or for next week’s recipe!

Paleo and Vegan Caramel Sauce
If you're intimidated by caramel (I know I was!), it's time to change that. This dairy free caramel sauce only requires a few ingredients and a little stirring to achieve sweet and sticky perfection!
Ingredients
- 2/3 cup coconut (palm) sugar
- 1/4 cup maple syrup
- 1 pinch fine sea salt
- 3/4 cup coconut cream (5.4 ounce can)
- 1/2 teaspoon vanilla extract
Instructions
- Add the sugar, maple syrup, and salt to a small saucepan fitted with a candy thermometer.
- Place on the stove and turn the heat to medium.
- Stir continuously until the mixture comes to a rolling boil, then reduce the heat slightly to bring the mixture down to a simmer (or a low boil).
- Continue to stir until the mixture reaches 220F. It will take several minutes.
- Once the mixture reaches 220F, turn off the heat and stir in the coconut cream. Continue to stir until it has melted into the sugar mixture.
- Turn the heat back on (medium) and continue to stir until the mixture reaches 210F again.
- Immediately remove the pan from the heat, and stir in the vanilla.
- Stir to cool the mixture slightly, then transfer to a heatproof container.
- Allow to cool to room temperature before serving.
Notes
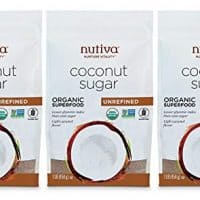
- This caramel is made from three key ingredients: coconut sugar, maple syrup and coconut cream (plus a pinch of salt and a splash of vanilla). I know I am a broken record with this stuff, but please use the best quality ingredients you can. I used Nutiva brand coconut sugar and Coomb's Family Farm maple syrup and Native Forest brand Native Forest brand coconut cream. The cream comes in 5.4 ounce mini-cans, which is - surprise! - the exact amount you need for this recipe.
- I often get questions about substitutions and always try to accommodate you but in this case, please don't substitute ingredients. Stevia cannot be used instead of coconut sugar, honey or brown rice syrup cannot be subbed for maple syrup and make sure you are using coconut cream, not coconut milk.
- The recipe calls for a candy thermometer and yes, I'd really recommend getting one. Anytime you're cooking sugar, five or 10 degrees can be the difference between soft and teeth-cracking or deeply caramelized and burned. Luckily, candy thermometers are very affordable and are great to have around (you can also use them for frying). This is the one I have and when I need it, I'm really glad I have it.
- Store your caramel it in an airtight container with as little air in it as possible. So, pick a container that nearly fits the amount of caramel (one batch fits pretty perfectly in a small canning jar). If there is air in the container, a tough crust will form. But don't worry - the sauce is still useable. Just heat it in 30-second increments in the microwave, stirring in between (or transfer to a small saucepan and heat over medium heat, stirring constantly), until it is silky smooth again.
- Store leftovers in an airtight container at room temperature for up to 3 days, in the fridge for up to 2 weeks, or in the freezer for up to 3 months.
- Heat it to slightly warmer than room temperature to serve, so that it is liquified enough to pour.
Recommended Products
Thank you to Now Foods for providing the ingredients that inspired this recipe. This post contains affiliate links, which means that if you click through and purchase a product, A Clean Bake receives a small commission. All proceeds go toward continuing to bring you delicious, healthy recipes every week, and this does not affect the price you pay. Thanks for supporting A Clean Bake!
Nutrition Information:
Yield: 8 Serving Size: 2 TbspAmount Per Serving: Calories: 126Total Fat: 5gSaturated Fat: 4gTrans Fat: 0gUnsaturated Fat: 0gCholesterol: 0mgSodium: 28mgCarbohydrates: 22gFiber: 0gSugar: 20gProtein: 0g


Janeen says
This tastes absolutely amazing. It reminds me of those dairy free caramel chew candies which are my favvv!
Nora (A Clean Bake) says
Thank you so much!
Shandrae says
Ahhh! Where did the recipe go? I read through the post to the end, but there is no recipe!
Nora (A Clean Bake) says
You are absolutely right and I have NO idea! But I am going to try to get it figured out right now. Thank you for the heads up!