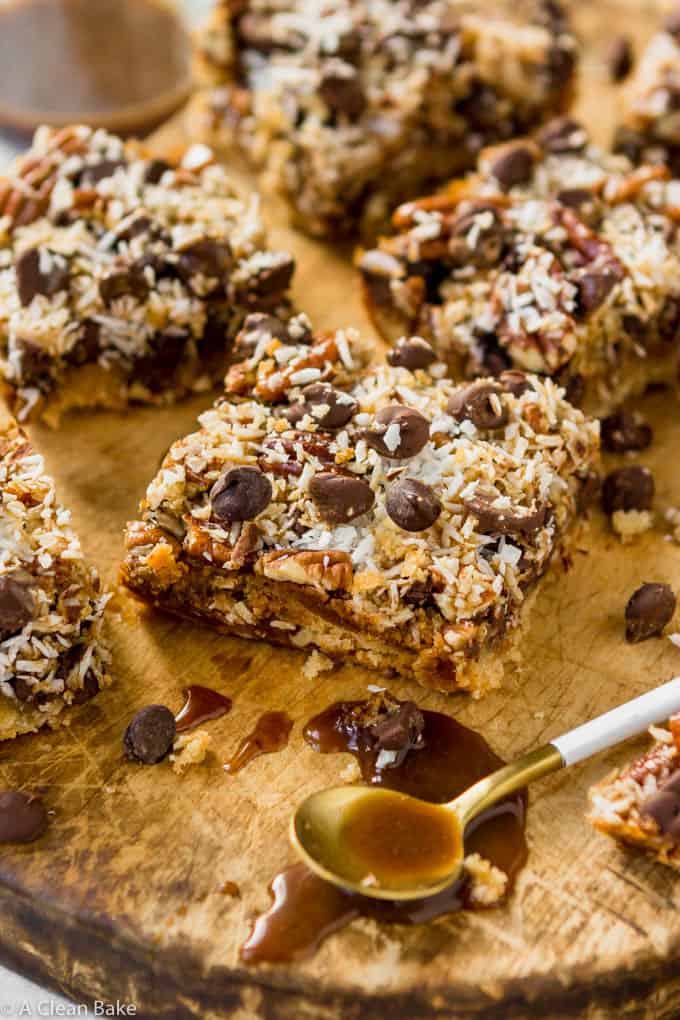
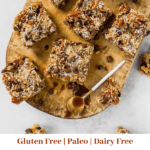
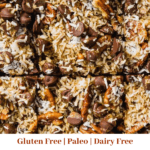
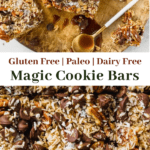
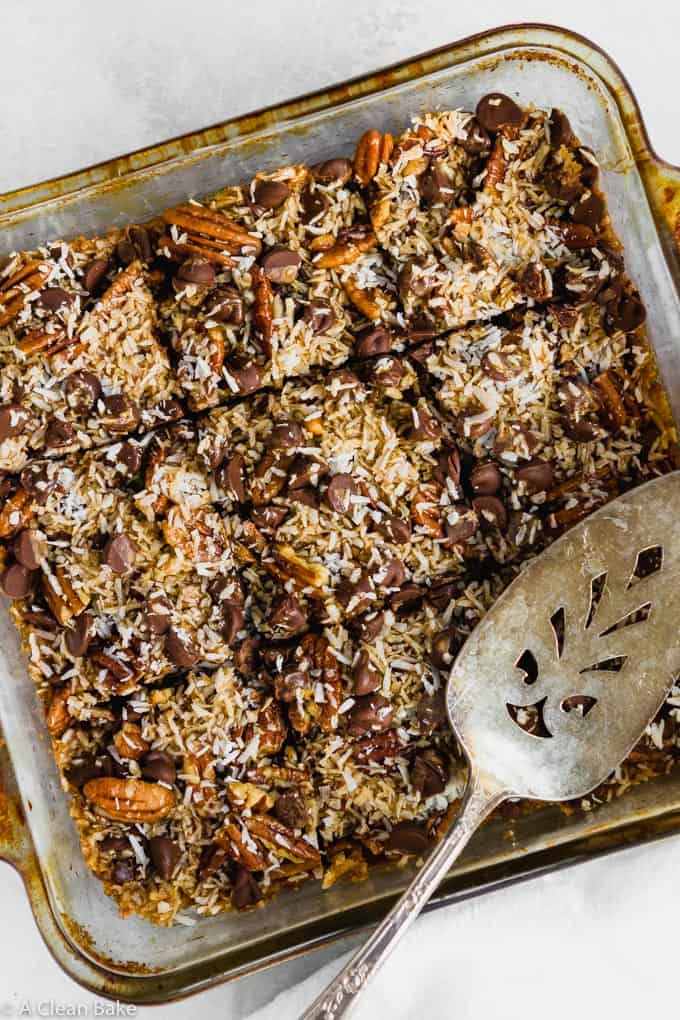
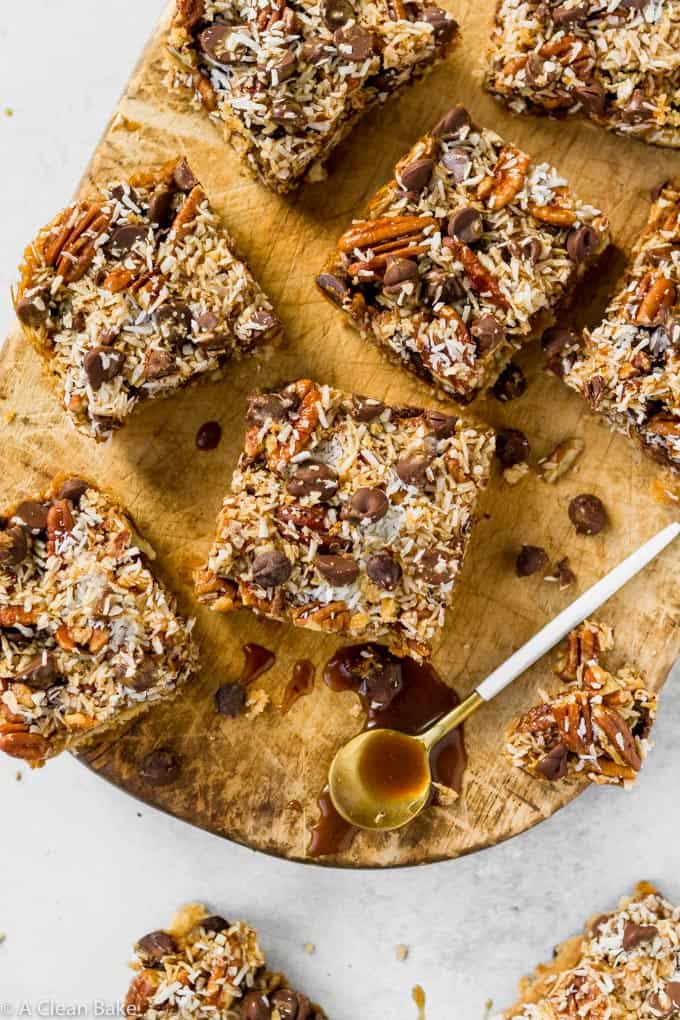
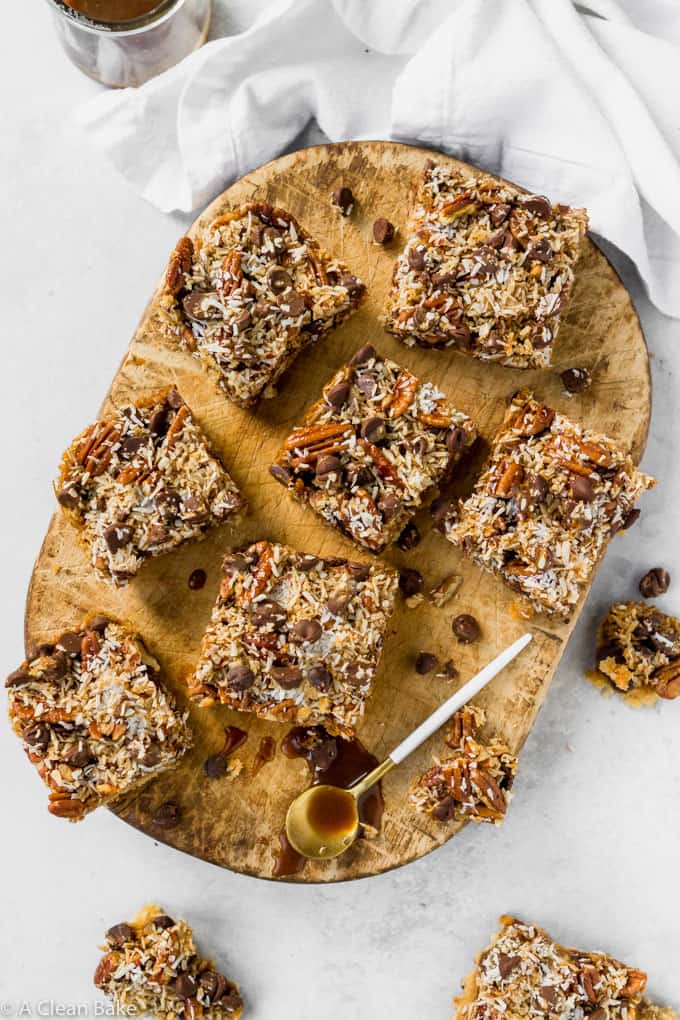
You may call them magic cookie bars, or seven layer bars, or hello dolly bars, but no matter what name they go by, they always hit the spot. A classic addition to holiday cookie trays, this gluten free and paleo version of the beloved magic cookie bar recipe features an almond and coconut flour crust, layers of chocolate, coconut, and pecans, and homemade refined sugar free caramel to hold it all together.
These magic cookie bars may be having an identity crisis.
Everyone knows them by a different name, makes them (I suspect) slightly differently, and would – I’m speculating here – probably fight to the death with anyone who dares challenge their bar truth. I’m tempted to make a crack here about alternative facts but it’s the holidays, so I won’t start, because for goodness’ sakes you probably have enough of that tension bubbling just under the surface already.
While I think most people consider Magic Cookie Bars/Hello Dolly Bars/Seven Layer Bars (WHAT IS THE REAL NAME OF THESE!?)(Don’t answer that.) to be a holiday recipe, it feels a little strange to me to be posting these at this time of year.
I’ve always wanted to post them in the spring because the remind me of my grandmother (her birthday is in April, which is the spring connection). I baked for her a lot when she was alive, and always asked her what she wanted, but her response was always the same: whatever I felt like making.
It wasn’t until after she passed away that I found out that Hello Dolly bars (as she called them [I think]) were one of her favorite treats, and her sister had been making them for her all along. I never got the chance! Her sister used to make them for her (which I also, somehow, managed to miss), so she was hardly deprived.
I never got my great aunt’s recipe, sadly, so I had to recreate it from memory, paleo-ifying it along the way. The shortbread crust became a softer, slightly cakey grain free base, topped with chewy coconut, crunchy pecans, and rich chocolate chips. The whole thing is finished off with a very generous layer of homemade, naturally sweetened caramel, for a treat you won’t be able to resist!
So if my grandmother were still alive, I would have sent her a double batch of these for the holidays. But since you’re here, I guess you’ll just have to be the one to eat them!
But first, you’ll have to make them, unless you live nearby and move QUICKLY because the leftovers from this batch are going fast. Just look at them. How could they last very long?
But I digress.
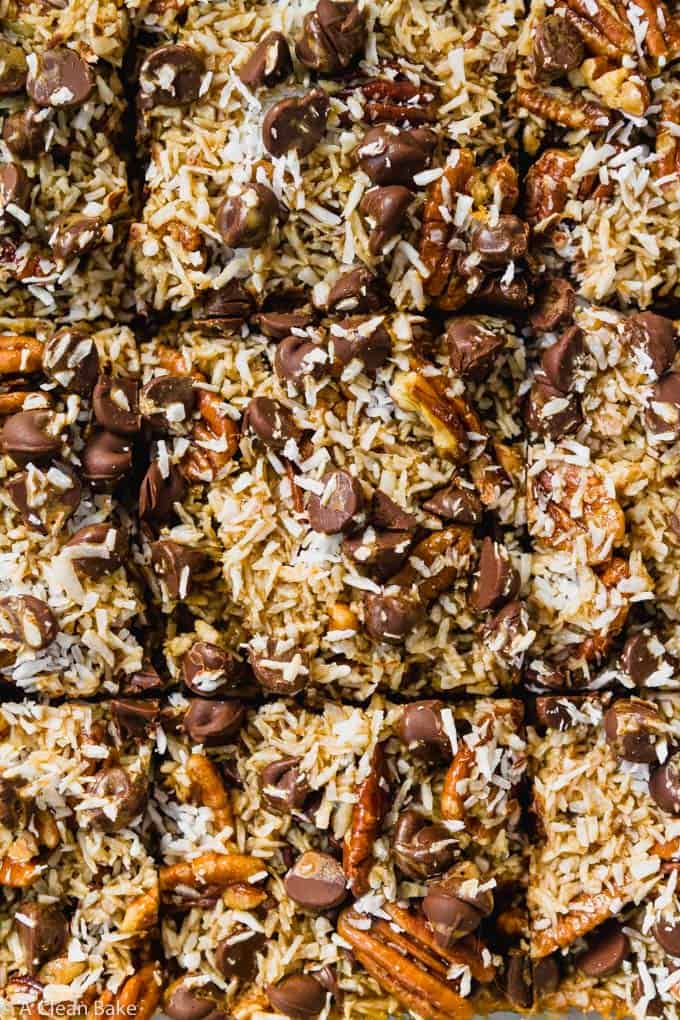
These magic cookie bars are called – by some – seven layer bars because – SPOILER ALERT! – there are seven layers to this bar. Luckily, these seven layers are neither distinct, nor fussy. Easy and repetitive makes these bars a snap to throw together. There is no Great British Bakeoff caliber work to be done here. And yes, it would be an understatement to say I am obsessed with that show right now.
But I digress again!
Let’s count to seven:
Layer #1: Shortbread base
It might be a little generous to call this a shortbread base because it’s not dense with a slight crispness, as shortbread should be. There. I said it. It’s a slightly soft, cakier base than the traditional version and I assure you: you will be too busy grabbing seconds to notice.
The base is adapted from the sweet version of my paleo pie crust recipe (savory here, sweet here, for reference), which you simply press into an 8″x8″ baking pan and pop it in the oven for a few minutes while you start to prepare your other layers.
Don’t skip this early oven visit. This crust absolutely does need to be pre-baked before the layering can begin. This step is called blind baking, which refers to the empty crust being baked alone before it is baked with something inside or on top. The blind bake sets the crust and forms a bit of a moisture shield so that when you start layering all that melty chocolate and gooey caramel on top, it won’t seep in to the crust and make it too soggy.
Layer #2: Dark Chocolate Chips
This is an easy one. All you have to do to make this layer is to sprinkle a bunch of dark chocolate (chips, chunks, or a chopped bar) over the warm, pre-baked crust and let them get a little melty. Then, top with…
Layer #3: Pecans
You can use raw or toasted pecans, but make sure they are unsalted. Otherwise, your bars will come out tasting like a salt bomb. No one wants to eat a salt lick! ????
The pecan flavor will definitely come through so make sure your pecans are really fresh and really good quality. Did you know that nuts can go bad? You wouldn’t think a pantry item can, but it’s true. The oils in nuts can, over time, deteriorate which can produce a dull flavor or worse, a slightly off taste, which throws off the flavor of the entire bar.
Play it safe and avoid using those pecans that have been languishing in the back of your pantry for years. (Actually, why are they in the pantry at all! Store your nuts in the freezer to keep them fresh much longer.) For best results, buy the new for this recipe, and buy a brand that you trust. I used NOW Foods raw and unsalted pecans in in these bars, and I use their nuts almost exclusively in my recipes because I always know they’re going to be fresh and full of flavor.
Layer #4: Coconut
There are some conflicting opinions out there about whether shredded or flaked coconut is the “right” form for these bars, but I’m going to play peacemaker, and say use whatever you have on hand. It makes very little difference except for a slight difference in how concentrated your coconut flavor is in every bite. If you want it to be a little bit more distributed, use shredded coconut. If you want big, bold bites of coconut, use flakes.
Does that settle it? Or did I just incite more magic bar conflict? ????
Layer #5: More chocolate chips
This one needs no explanation, right?
Layer #6: Caramel
Finally, the caramel. The last layer is not really a layer as much as it is the glue that holds all the toppings on the bar, and that the final sprinkle of coconut can stick to. Since it needs to hold everything together, make sure you’re drizzling it evenly and covering the whole surface area of the bar. Then, after baking, – and this is the toughest but most essential step – let the bars cool so the caramel can set before you dig in. Otherwise, you’ll just have a mess of soggy bar components!
As to what caramel to use, I highly recommend homemade. But I understand that it’s an extra step and you have to break out a candy thermometer (yes, unfortunately, my caramel recipe does require the thermometer). So feel free to use an alternative, if you prefer. Just make sure you have about 2/3 cup of it.
Layer #7: Another sprinkle of chocolate and coconut
For good measure. ????
Of course, it all sort of melds together into this bar of heaven, so you can feel free to mix up the layers in whatever order you think works best, as long as the caramel is last or second to last, to meld it all together.
Then, after a quick 20-minute bake, and a torturously slow cool, it’s time for the best part: dig in.
Just, you know, try to make sure at least a few of these bars make it to the cookie plates….!!
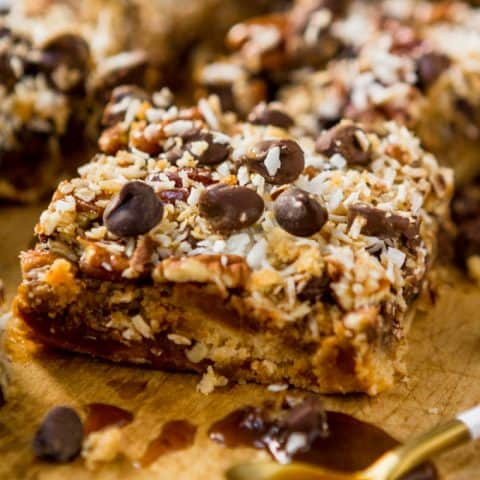
Gluten Free & Paleo Magic Cookie Bars
You may call them magic cookie bars, or seven layer bars, or hello dolly bars, but no matter what name they go by, they always hit the spot. A classic addition to holiday cookie trays, this gluten free and paleo version of the beloved magic cookie bar recipe features an almond and coconut flour crust, layers of chocolate, coconut and pecans, and homemade refined sugar free caramel to hold it all together.
Ingredients
Ingredients for the crust
- 3/4 cup blanched almond flour
- 1/2 cup coconut flour
- 1/4 cup arrowroot flour
- 1 pinch fine sea salt
- 1/2 cup maple syrup
- 1/4 cup coconut oil,, melted and slightly cooled
- 1 large egg white
Additional Ingredients
- 1 cup dark chocolate chips, or chunks, divided, plus more for garnish
- 3/4 cup pecans, roughly chopped
- 1/2 cup unsweetened shredded coconut,, plus more for garnish
- 2/3 cup homemade caramel sauce
Instructions
- Preheat the oven to 350°F. Lightly grease an 8"x8" square baking pan and set aside.
Prepare the crust
- In the bowl of a food processor fitted with the "s" blade, pulse the almond flour, coconut flour, arrowroot flour, and salt several times, until combined.
- Add the maple syrup, oil, and egg white and process until the dough comes together in a ball.
- Press into the bottom of the prepared pan to form a firmly-packed layer.
- Cover with parchment paper, then weigh the parchment down with rice, dry beans, or pie weights.
- Bake for 25 minutes until the edges start to turn golden.
- Remove the crust from the oven.
- Distribute 3/4 cup of the chocolate over the warm crust. They will melt slightly. (That's ok, and encouraged.)
- Sprinkle the chopped pecans evenly over the chocolate layer.
- Add the coconut in an even layer over the pecans.
- Distribute the remaining 1/4 cup of chocolate chips around the pecans and coconut.
- Pour the caramel sauce evenly over the top of the bars, coating all of the exposed chocolate, pecans, and coconut.
- Sprinkle additional chocolate chips and coconut over the top of the caramel layer.
- Bake for about about 20 minutes, until the caramel has seeped into the bars.
- Cool completely before cutting the bars.
Notes
Store leftover bars in an airtight container at room temperature for up to three days, or in the freezer for up to a month.
Nutrition Information:
Yield: 16 Serving Size: barAmount Per Serving: Calories: 238Saturated Fat: 8gSodium: 60mgCarbohydrates: 23gFiber: 3gSugar: 10gProtein: 3g
Amanda says
These are such a fun holiday treat for our gluten-free family members! We had some hazelnuts so I used those instead of pecans, and they were delicious! My husband and kids ate all of them in about a day.
Nora (A Clean Bake) says
That is amazing to hear! I love the idea of using hazelnuts 🙂 Happy holidays!
Karen says
These bars were a hit with the family! My only pause with the recipe was whether or not to melt the coconut oil or use it soft. I melted it which didn’t seem to effect the crust texture. Yum! Yum!
Karen says
I am making these today and with the amount of almond and coconut flour my dough was very wet. I added some more almond flour to get it thicker but never quite got a ball of dough. Should I have tightly packed the flours when making? New to baking Paleo.
Karen says
OMG they are delicious! Crust turned out fine!
Nora (A Clean Bake) says
I’m so glad! Yes, the crust is a little wetter than you expect it to be, but it should come together eventually. It takes a few minutes for the coconut flour to absorb the extra moisture. I’m so glad it turned out for you!
Abbe says
I made at these at Thanksgiving but they kinda got left out & forgot to bring home with me (snacks for plane) well turns out my dghtrs ate the bars & loved them— made a arequest for me to make Again! A lot of work but they love them. Thanks for the recipe.
Nora (A Clean Bake) says
Yes, it’s a bit of work for sure – but I’m glad it was worth it!
Janeen says
This brought back memories of my favorite dessert as a child. I was so sad that I couldn’t have hello dollies anymore. Then, I found this recipe and it tastes AMAZING. I don’t feel like I’m missing out on a thing.
Nora (A Clean Bake) says
Hooray! I’m so excited to hear that!