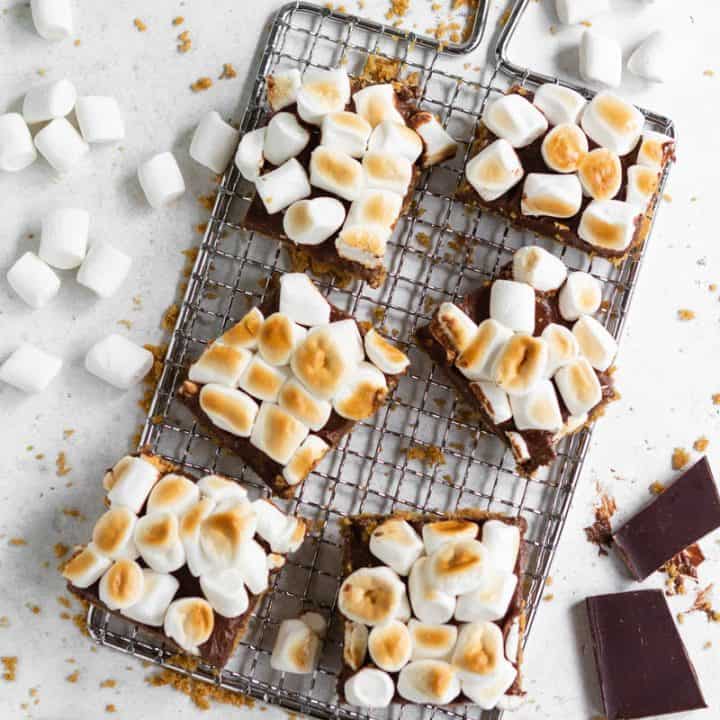
Celebrate summer with these gluten free and paleo smores bars! They’re so easy to make with a 3 ingredient crust, 2 ingredient filling and 1 ingredient topping, plus a few minutes in the oven.
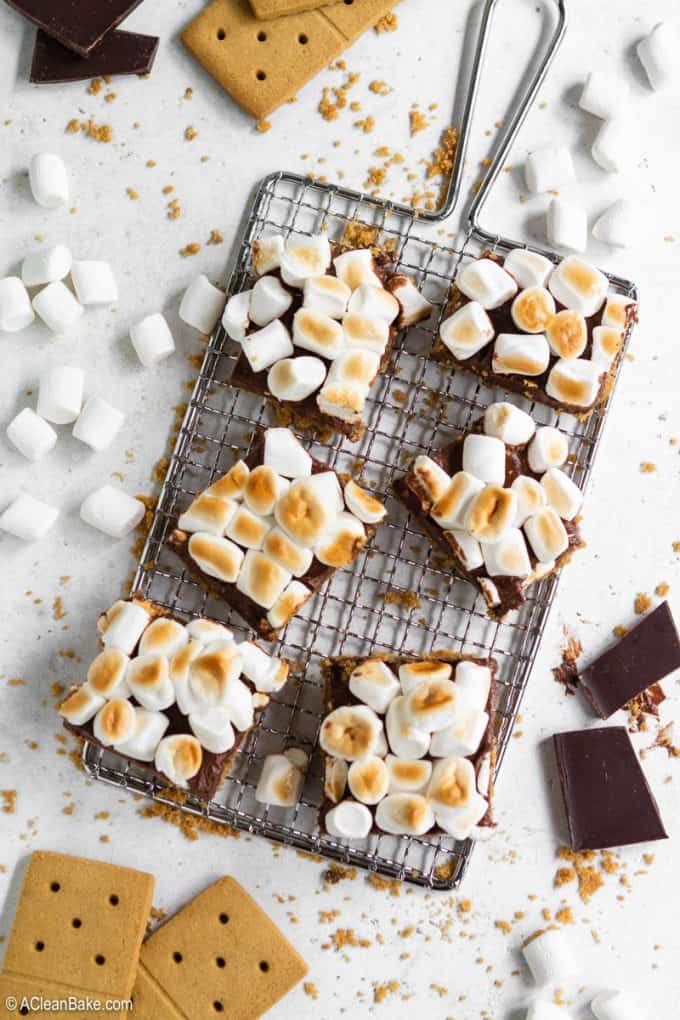
This post and recipe have been updated. The original version of this recipe appeared on Aug 25, 2017.
There are few things that are truly impossible to make a paleo version of, but graham crackers are one of them. See, the main ingredient in graham crackers is graham flour, which is a specific kind of wheat flour that makes a graham cracker…graham-y. So it took me awhile to figure out how to many a proper s’more without (wheat-y) graham crackers, let alone without grains altogether.
For awhile, I just sort of embraced it and used chocolate chip cookies to sandwich together the ingredients – because who is going to complain about that!? – but at some point, you just want that true s’mores flavor in your paleo s’mores, or else why bother?
This all kind of sounds like a very unconvincing lead up to the recipe, except for the big reveal, the secret ingredient, if you will. It’s…Simple Mills grain free cinnamon cookies (This is not sponsored, by the way. These cookies just work really well as a paleo-friendly replacement for graham crackers!).
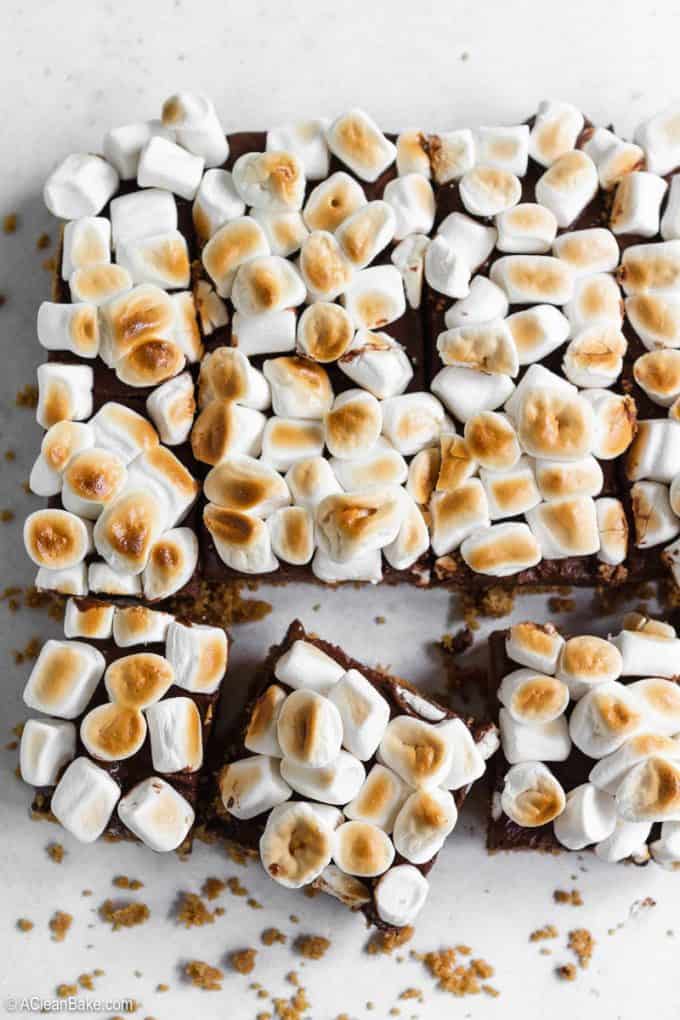
OK, fine, “secret” might have been a stretch. You could also use gluten free graham crackers, if you don’t mind the grains – I like Pamela’s brand gluten free honey graham crackers, but there are tons of other options out there. But the cookies I used are dairy- and egg-free, which is the key to making these whole bars vegan!
It turns out that once you’ve identified the right ingredients, the rest of the process is pretty simple, and quite familiar if you’ve had experience making these kind of no-bake/semi-baked bar cookies and treats.
The Crust
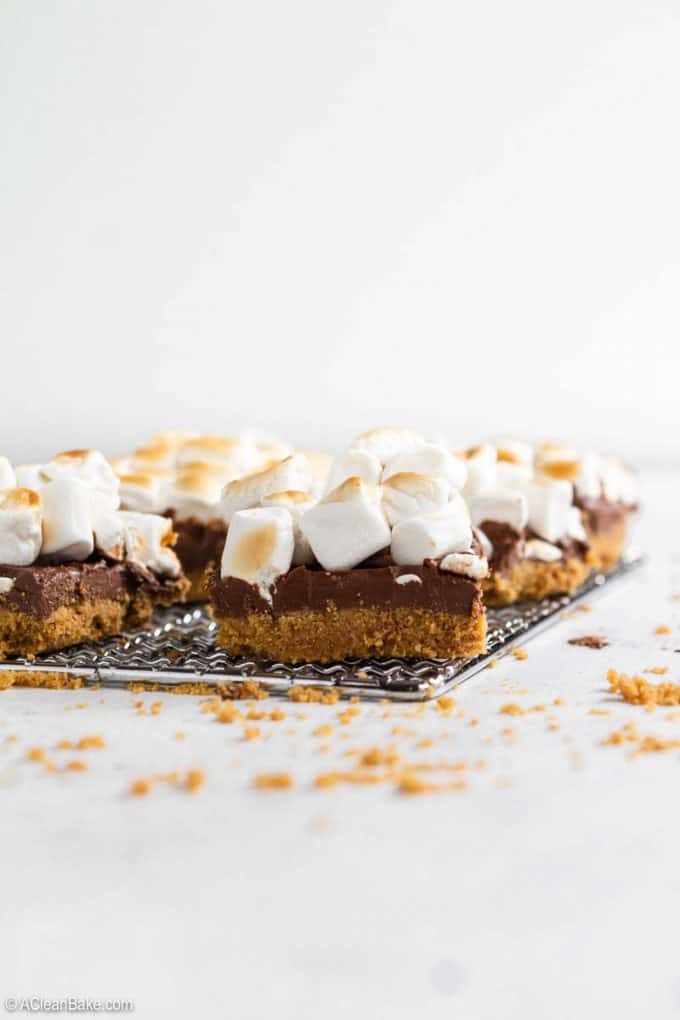
The crust is made of crushed cookies and butter (or coconut oil, for a dairy-free variation). The food processor is the easiest crushing mechanism, and makes mixing in the butter or oil easy to do (pour in, turn machine on). But if you want to go low-tech, put all of the cookies in a zip top bag and roll/whack them with a rolling pin until they are completely crushed. Then transfer to a mixing bowl and stir the butter or oil in.
Then you press the cookie mixture into a lightly greased 8″x8″ baking dish and bake it for a few minutes, just to set the crust.
The Chocolate
You can use any chocolate you want: dark, super dark, dairy free, etc. My go-to these days is Enjoy Life dark chocolate chips but you don’t need to use chips. You can use a bar instead (I like Alter Eco bars), but make sure to chop it up to about the size of large chocolate chips for faster and more even melting.
Speaking of the melting, you can do it over a double boiler or in the microwave. Be careful with the microwave, which can burn your chocolate, believe it or not, or cause it to seize. My favorite tricks for preventing burned or seized chocolate are:
- Heat in 30 second increments, stirring a bit between each one. This will, at first, seem like it’s not doing anything. Be patient. It will!
- Create a little hole in the center by pushing your chocolate out to the sides of the bowl. I don’t really understand the mechanics of how microwaves penetrate food or whatever, but the heat concentrates in the center of the bowl and that’s where the burning or seizing happens. Just make sure there is a space in the center of the bowl about the size of a half dollar (oh, there’s a reference you probably haven’t heard in awhile) without any chocolate chips or chunks in it.
- And if you do find yourself with seized chocolate, at a tiny bit of oil and stir vigorously to restore the texture. You may need a little bit more than the recipe calls for (the amount called for is enough to keep the chocolate from totally firming up so you an bite into it more easily), but add about 1 tsp at a time at most. If your chocolate burns, though, throw it out and start over. You’ll know the difference because burned chocolate smells like, well, burning.
The Marshmallows
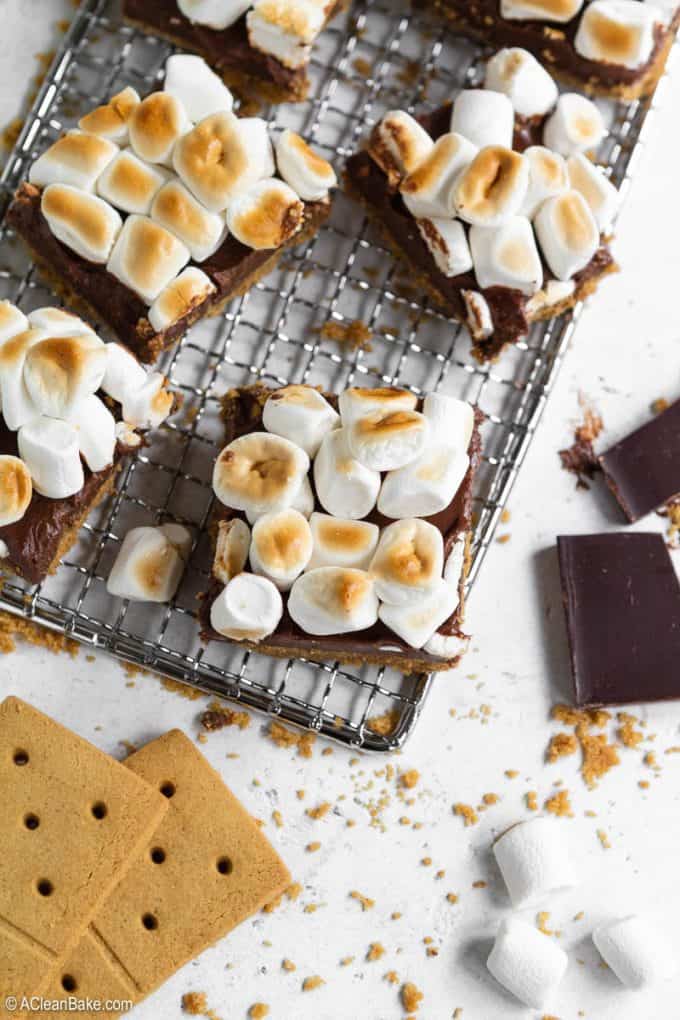
Marshmallows aren’t exactly an every day food, or really more than a once a year food in my house, but since this is a special occasion, super decadent dessert, so we’re going to go ahead and let them slide. If you’re going for store-bought, there are many less-unhealthy brands out there. Peruse the baking aisle at Whole Foods for a few reliable options, like Dandies.
Alternately, you can make your own. I don’t have a recipe on this site, but you can do a search for a recipe. There are plenty out there.
And a word of warning about the toasting process: you’ll add the marshmallow layer to the pan and then stick the whole thing under the broiler to toast the ‘mallows. BE CAREFUL. Even 30 seconds can mean the difference between toasted and burned or burned and burning the house down (ok, that’s a slight exaggeration, I think, but let’s not test it).
Be careful with the broiler, watch this step very, very carefully, and pull the bars out at the first sign of toastiness. I put my pan on the top rack of the oven, about 10-12″ or so from the broiler and it took about 3 minutes. Start with 1 minute, then add 30 seconds of toasting at a time until the marshmallows reach your desired degree of toastiness.
Ok holy moly that was a lot of information about a recipe that basically goes: “break cookies, press into pan, cover with melted chocolate and marshmallows and eat”. There I go overcomplicating things again. I’ll just excuse myself and let you get to it!
5-Ingredient S'Mores Bars (Gluten Free, Vegan, and Paleo)
Ingredients
Ingredients for the crust
- 2 x 5.5 ounce box grain free cinnamon cookies or gluten free graham crackers (10-12 ounces, total), (see note)
- 4-6 tablespoons unsalted coconut oil (or butter, if not vegan), melted
- 2 tablespoon coconut sugar
Ingredients for the filling
- 2 cups dark chocolate chips (vegan, if necessary)
- 1.5 tablespoons coconut oil
Ingredients for the topping
Instructions
- Preheat the oven to 350°F. Lightly grease an 8'x8' baking dish and set aside.
- In the bowl of a food processor fitted with the "s" blade, pulse the cookies several times until chopped.
- Add the butter (or oil) and process until the cookies are crushed. The mixture should hold together when pressed.
- Turn the cookie mixture into the prepared pan. Use your hand to pat it firmly into an even layer.
- Bake for about 15 minutes, until firm.
- While the crust is baking, melt the chocolate and oil together, either in the microwave (in 30-second increments) or on the stove in a double boiler, stirring constantly.
- When the chocolate is smooth, pour it into the baked crust and smooth into an even layer. Allow it to set in the fridge for 20-30 minutes.
- Top with marshmallows (if using halved large marshmallows, lay them with the cut side down).
- Turn on your oven's broiler and situate a rack near the top (about 10-12" from the heat). Place the pan in the oven for 1 minute. Check the toastiness of the marshmallows, and if you'd like them to be toasted more, put them under the broiler in 30 second increments, checking in between, until toasted to your liking.
- Cut and serve.
Notes
- You can use any gluten free or grain free cookies you prefer, but I recommend (and used here) Simple Mills grain free cinnamon cookies. If you're looking for a gluten free graham cracker, I've enjoyed Pamela's honey graham crackers, but there are many options out there.
- The amount of oil (or butter, if not vegan) the crust will need will vary with the kind of cookies you're using, so if you're not using the grain free cinnamon cookies I recommend in the note above, start with just two tablespoons of oil, and go from there, adding one tablespoon of oil at a time and letting it completely incorporate into the cooking crumbs before adding the next. Stop when the crumbly mixture just holds together when pressed, or risk your crust layer getting too oily or crumbly!
- If you're having trouble patting the cookie mixture into the pan, try covering it with a piece of wax or parchment paper and press on the parchment.
- If you'd rather use a chocolate bar instead of chips, you will need about 6 ounces, chopped.
- Take care in melting the chocolate because too much heat too quickly will cause it to burn or seize. My favorite tricks for preventing burned or seized chocolate are:
- Store leftover bars in an airtight container for up to three days at room temperature.


Lynn Webb says
These sound really yummy!!! I love Simple Mills products, but never thought to do this with their cookies. Now my brain is spinning on what other cookie crusts I could make with them. lol!!! Thank you for the recipe.
Nora (A Clean Bake) says
They make a great cookie crust!
V McDowell says
I’m not sure how these are paleo with the sugar in the cookies and even more so the sugar in the marshmallows? I’m sure someone could convince themselves they are but…..
Nora (A Clean Bake) says
If you use the Simple Mills cookies, they are sweetened with coconut sugar, and they are completely paleo-compliant. You’re right that there are no store-bought marshmallows that do not use cane sugar, so you can do one of two things: make your own so that the marshmallows are completely paleo-compliant, or look the other way, since this is a treat 😉
Tania says
These look great! Is there nutrition info? Just wondering how many calories per square. Thanks!
Nora (A Clean Bake) says
Sorry, I can’t provide nutrition info because it depends greatly on what cookies you use as the base, and what kind of marshmallows you use.
Skimmers says
Three minutes on broil was WAY too long. I set my timer for 90 seconds and it was already on fire! I had to scrape off all the burnt marshmallows. I tried microwaving some marshmallows to pour on top but then they didn’t cut well. Taste was good but texture was very strange.
Nora (A Clean Bake) says
Yes, I agree, 3 minutes is way too long. That’s why the recipe advises that you situate your rack about a foot away from the broiler and start with only 1 minute.
Lurker says
Not vegan–most marshmallows have gelatin.
Lurker says
I retract my comment about gelatin: the ingredient list mentions vegan marshmallows as an option.
Nora (A Clean Bake) says
Yes, I used vegan (Dandies brand) marshmallows, which use agar instead of gelatin.