If there is one thing I have learned this year, it’s that food is more than the sum of its calories. It is art, and it is medicine and it brings people together. The latter is what today’s recipe is all about.
I had this concept for a chickpea-based vanilla layer cake clattering around my brain ever since I made a chocolate layer cake out of black beans. Beans are a perfect alternative to expensive specialty flours for people who want to try baking without gluten, or are doing so on a budget. Sure, there are many practical benefits of this cake, and usually that’s what I like to talk about here because I like information, and I think a lot of bakers, whether out of uncertainty or expertise, crave as much information as possible before deciding to make a recipe.
But this cake isn’t so much about the ease or the taste, as much as the ability for a mom to throw this together, without too many time-consuming grocery trips, to serve to her family at her 2-year-old’s birthday party. I don’t have kids, but plenty of my friends do, so I know how particularly special those very early birthdays are.
A reader contacted me with a request for a gluten-, dairy- and sugar-free vanilla cake for her daughter’s birthday. I have never met this reader, and I have been promising myself that I will slow down a little because life has been overwhelming these last several months. But she put her daughter’s birthday cake in my hands, so how could I say no?
I am so touched that she entrusted me with this important cake, and connecting with people through food is something that, if you haven’t already figured it out, is very important to me. I hope this recipe made her day with her family an extra special one, and I hope everyone enjoyed it and went home with a full belly and a happy heart.
PS: Sorry this post was in no way about the food. Sometimes the people eating the food are just as important as the recipe itself, and what’s more, I thought I’d spare you another description of a vanilla cake. (It’s easy to make and very tasty; moist with a tight, spongey crumb, and saturated with subtle vanilla flavor. The frosting is cool, creamy, and vegan and the whole thing is gluten-free. And no, of course you can’t taste the beans.)
Please don’t be put off by the length of the recipe. It’s actually a very easy cake to make in the food processor, and the frosting comes together quickly with a hand-held electric or stand mixer. Note that the frosting is best made with chilled coconut cream, so it does take a little planning ahead. See other notes at the end of the recipe for more tips.

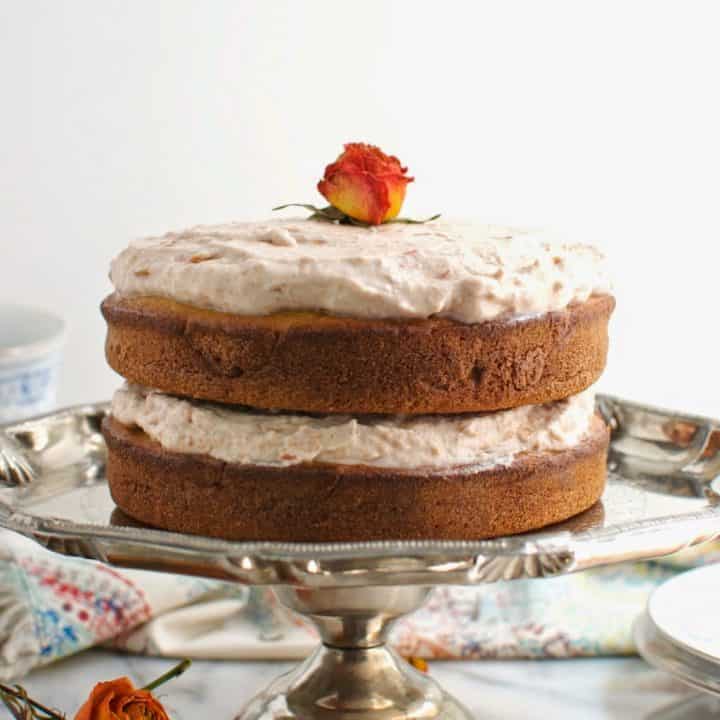
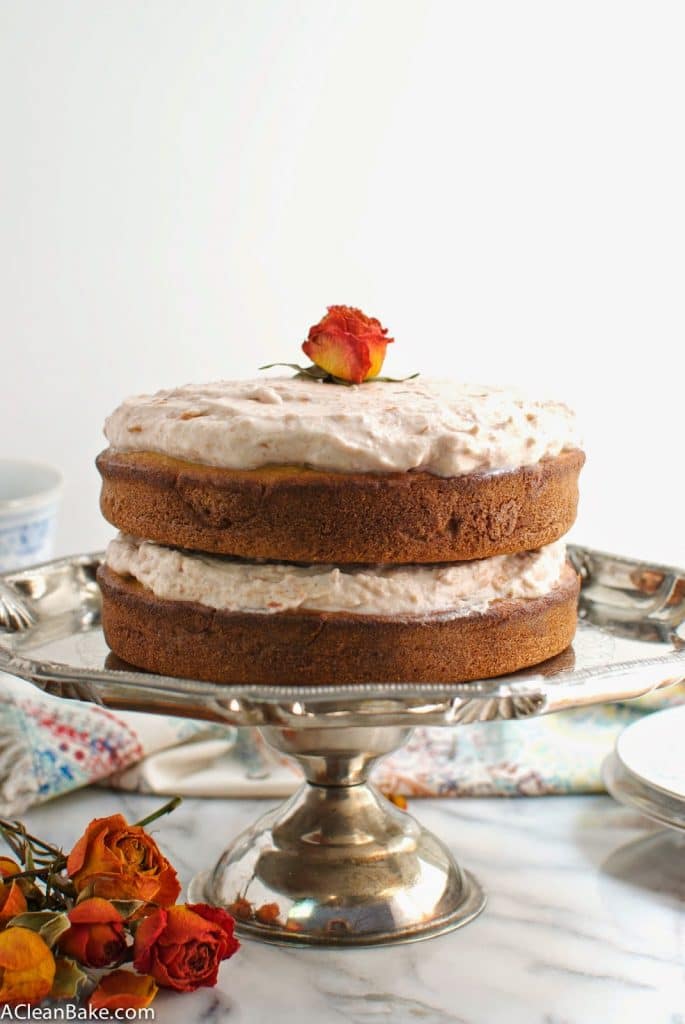
Gluten Free Vanilla Cake with Vegan Cherry Rose Buttercream Frosting
Ingredients
Ingredients for the cake
- 1 ×15.5oz can of white or garbanzo beans
- 4 large eggs
- 1 Tablespoon good quality vanilla extract
- 1/4 cup melted butter, (or vegan butter, or coconut oil)
- 1 Tablespoon honey
- 1/2 cup granulated monk fruit sweetener, or granulated stevia
- 1/8 teaspoon salt
- 1 teaspoon baking soda
- 1 teaspoon baking powder
- 1 cup oat flour
- 1/2 Tablespoon ground psyllium powder, optional, but recommended for structure
Ingredients for the frosting
- ½ of a 14-oz can of coconut cream, (NOT coconut milk; available at Trader Joe’s and health food stores, chilled in the refrigerator overnight)
- 6-8 Tablespoons granulated stevia or monk fruit sweetener, (I recommend Norbu or Natvia brands)
- Pinch salt
- ½ cup frozen sour cherries, such as chopped strawberries, defrosted and drained – or equivalent berry
- ¼ teaspoon rosewater OR 1/8 teaspoon vanilla extract, or to taste (optional)
Instructions
- Preheat the oven to 350F. Spray 2×6” round cake pans with nonstick spray or brush with flavorless oil or melted butter and set aside.
- Make the cake: Puree the wet ingredients (beans through honey) together in a food processor fitted with the S blade until smooth.
- Add the dry ingredients (sweetener through psyllium) and mix for 5-6 long pulses or until batter is smooth and no globs of flour or other dry ingredients remain.
- Divide the batter evenly between the prepared baking pans. Firmly smack pans on the counter 5-8 times each, to release the air bubbles. This helps encourage the cakes to rise evenly, instead of doming too much.
- Bake for 23-28 minutes until a tester comes out clean or with only a few crumbs on it. If you prefer to make cupcakes, divide batter evenly between the 12 cups of a standard size cupcake pan, lightly greased or lined with cupcake papers. Bake at 350 for 15-20 minutes or until a tester comes out clean or with only a few crumbs on it.
- While the cake is cooking, prepare the frosting. n a stand mixer fitted with the whisk attachment, whip together the coconut cream, granulated sweetener and salt until fluffy. If it is not chilled (and depending on your coconut cream, even if it is chilled) it may not get as stiff as it would if you were using butter and cream, but it should be thick enough to hold its shape. Rule of thumb: If you could still drink it through a straw, it’s not ready yet!
- In a blender or food processor, puree the cherries (or other fruit) until they form a chunky paste. Stir in the rosewater (if using) or vanilla extract.
- Using a wide set rubber spatula, very gently (so as not to deflate the whipped cream) fold the cherry mixture into the sweetened whipped coconut cream.
- Refrigerate frosting until you are ready to assemble the cake. If your house is warm, you may want to refrigerate the first layer, topped with frosting, before adding the second layer, and then chill the whole cake before serving.
- Allow the cake (or cupcakes) to cool for about 5 minutes in the pans before gently turning out onto a wire rack to cool completely before frosting. If not frosting or serving immediately, store in the fridge until you are ready.
- Assemble the cake: if your cakes are too domed, use a bread knife to carefully cut off the dome and level the cakes.
- Place one of your cakes on a plate or stand. This cake is so moist that you likely will not need a dollop of frosting underneath to secure it to the surface. Gently scoop half of the frosting on to the first layer of the cake and, starting in the center, wiggle it outward toward the edge of the cake layer.
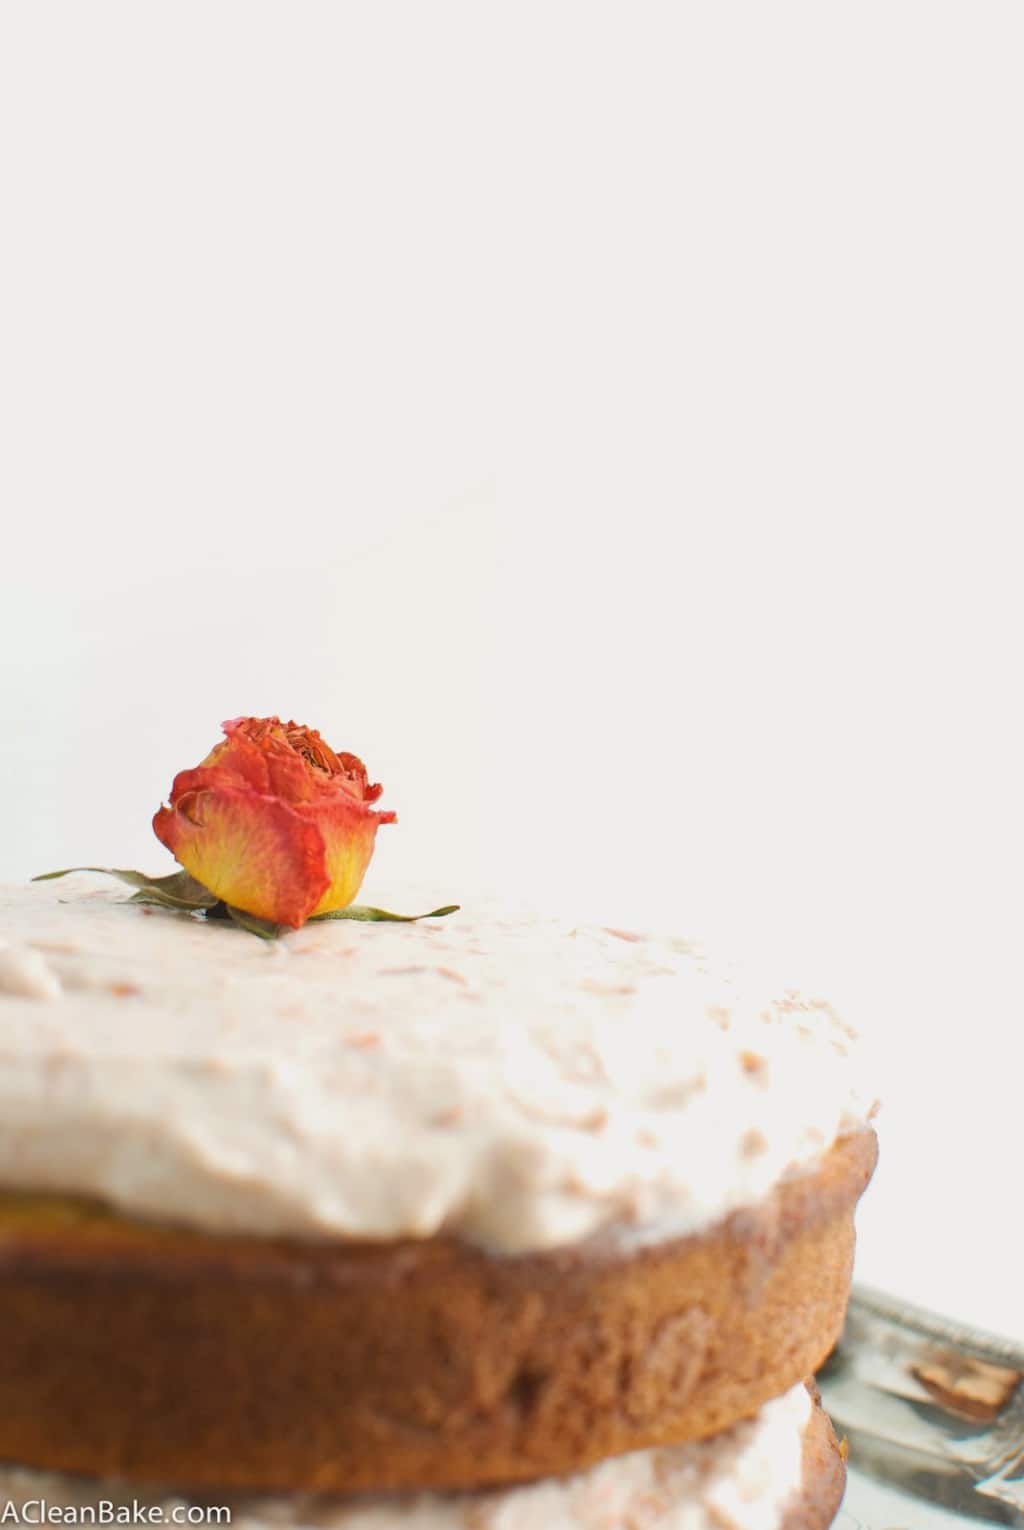
- Once you have spread it into an even layer, top with the remaining layer of cake and repeat the frosting distribution process. Garnish with (clean) flowers, fresh cherries, sprinkles, or decorating sugar, or leave plain.
- It is best to assemble the cake immediately before you plan to serve it, but if you need to do it in advance, refrigerate until serving.
Notes
This cake is very lightly sweetened compared to a typical vanilla cake. Don’t be afraid to taste the batter (assuming you are using good quality, trustworthy eggs!) and increase granulated sweetener to taste in both the cake and the icing. Do not increase the honey in the cake, or add honey to the batter, because it has too high a moisture content.
If you are using 9″ round baking pans, simple double the recipe. If you are using 8″ baking pans, double the recipe, but make a triple layer cake or be prepared to have a very thick double layer cake. Either way, you may have to increase the baking time.
Keep the frosting cold cold cold! If you make the cake on a warm day, the frosting WILL melt off the cake!
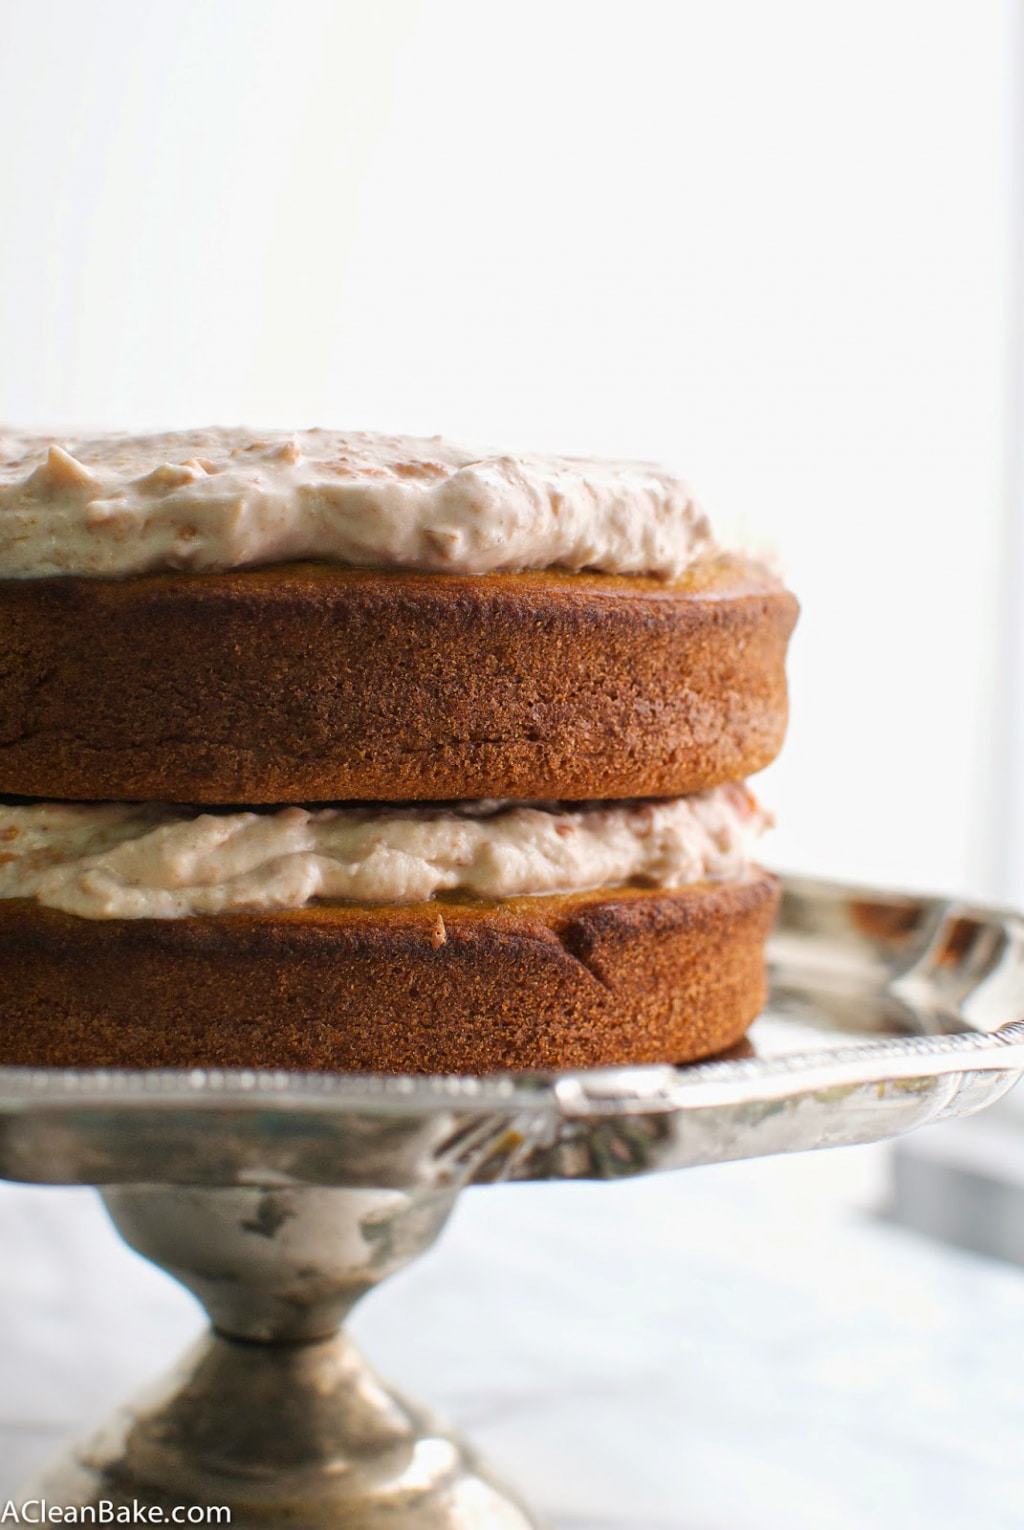
This recipe yields enough frosting to “naked ice” a 6” cake. Naked icing means a thick layer of frosting between the layers, and on top of the cake, leaving the sides of the cake exposed. If you would like to frost the sides of the cake, double the frosting recipe. This frosting does not hold up quite as well as its dairy equivalent, so you may need to add ½ – 1 Tablespoon of psyllium husk powder, flax powder, or tapioca flour, which will naturally thicken the frosting enough to hold. But know that flax and tapioca may have a subtle effect on taste and appearance.


Chantelle |naked cuisine says
You have an incredibe talent for writing recipes, so detailed and well articulated. This cake sounds amazing and your instructions are so clear! I can’t wait to try some of your recipes, I’m on the hunt for the perfect birthday cake for my little mans first birthday coming up. I think I’m in the right place 🙂
Nora (A Clean Bake) says
Aw you’re making me blush! Thank you so much, Chantelle. Feedback like yours is so rewarding 🙂 I hope you find the perfect cake for your son here (did you see the chocolate version of this too?), and happy 1st birthday to him!!
Christina @ Bake with Christina says
That cake looks so delicious and that frosting looks so creamy!! Happy Easter 🙂
Nora (A Clean Bake) says
Thanks, Christina! Happy Easter!
Becky L says
I had a major fail with this frosting recipe. Are you supposed to use the solid and liquid from the can of coconut cream? Or just the solid part? I beat and beat and it stayed thick liquid. I also don’t have a stand mixer, but my handheld has always worked for everything with no problem.
Nora (A Clean Bake) says
You need to discard the liquid, and only use the solid. Also, if it still stays runny, try chilling it until it thickens up (and in that case, you may need to keep the cake cold as well once it’s frosted). So sorry you had trouble!
christine jimenez says
Hello! Could I use flax seed in place of the eggs? Also, could I use dates instead of the granulated sugar? I am trying to find a yummy cake recipe for my neighbor who is dairy egg soy and gluten free. She lives alone and I want to surprise her.
This looks so good! 😍
Nora (A Clean Bake) says
I haven’t tried it so can’t guarantee the results!