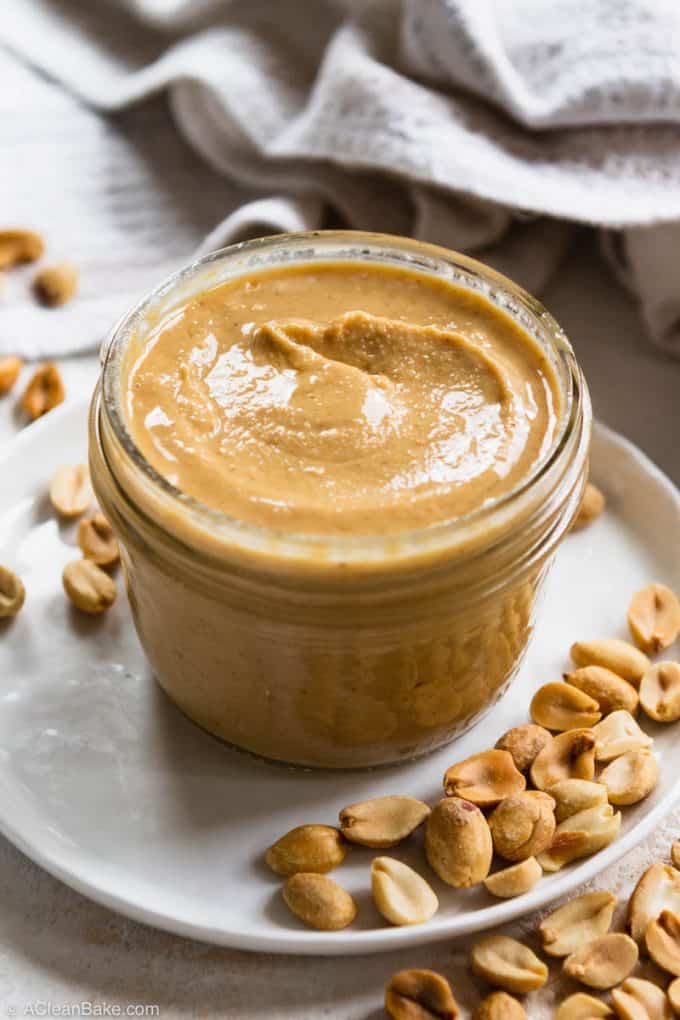
Learning how to make peanut butter at home is one of the easiest ways to keep healthy staples on hand, and save your budget! Homemade peanut butter is quick and easy, you can control the flavors and nutrition, and all you need to make it, besides peanuts, is a food processor or a high speed blender. Plus, you can use this method to make any other homemade nut butter, like almond butter, tahini, or any other nut or seed butter you want! This peanut butter is naturally gluten free, vegan, and low carb.
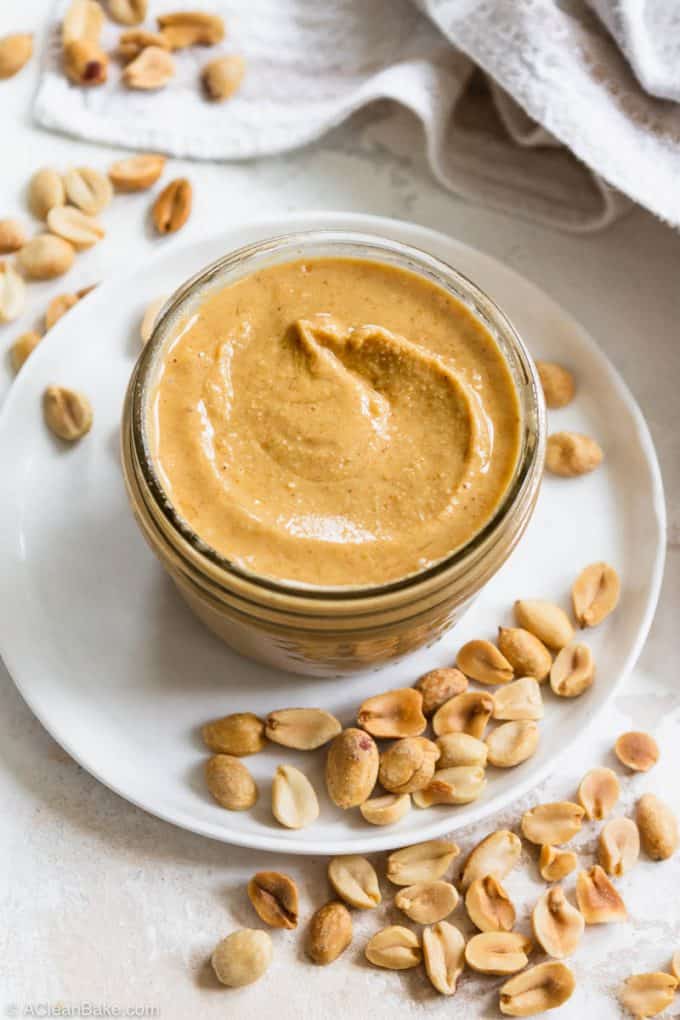
If you’re thinking “why on earth would I make peanut butter when I can buy it?”, well, then you haven’t met my husband and son. Together, they consume (seemingly) most of the peanut butter on the planet. We buy it in massive jars, three at a time, but it still feels like we’re constantly running low.
So, why bother making homemade peanut butter?
Because it’s so easy!
It’s harder than it should be to find peanut butter that is made the way peanut butter should be made: with peanuts. That is to say: without added sugars, oils, or stabilizers to prevent separating (euphemistically represented on the label as “no stir!”), without so much salt it tastes like the ocean, and without getting peanut oil all over your kitchen as you attempt (unsuccessfully) to stir a new jar that has been sitting on the shelf for too long and separated.
When you make your own homemade peanut butter instead of using store bought, you can control what’s in it, including the salt content and the type of oil (if at all).
It will be fresh, so you won’t have to worry about separation for months – and it probably won’t last long enough for you to even have to worry about it.
How to make your own peanut butter in your own kitchen
If you have a food processor, or high speed blender (like a Vitamix), in your kitchen, you’re ready to make homemade peanut butter. Just pour the peanuts in, turn it on, and watch the transformation into peanut butter.
Well, mostly.
A homemade peanut butter recipe is as basic as they come, but a few tips will ensure success.
If you’re using the food processor method
- Make sure it is fitted with the “s” blade before you pour the peanuts in the bowl of a food processor. That way you won’t get any nuts stuck under the blade that will not puree, and will ruin the consistency of your peanut butter.
- Stop every minute or so to scrape down the sides of the blender, and break up the mass when it forms.
If you’re using a Vitamix, or other high speed blender (best for ultra-smooth peanut butter):
- Before you start, make sure you have your plunger handy. When you’re blending, continually press the plunger down the side of the canister (through the hole in the top) alternating between all four sides, to keep the peanuts moving. This will prevent unnecessary strain on the machine that could burn out the engine!
- Don’t fill the canister more than 1/3 – 1/2 full of nuts. This will make sure everything keeps moving and gets processed into the smooth, even paste that you’re looking for!
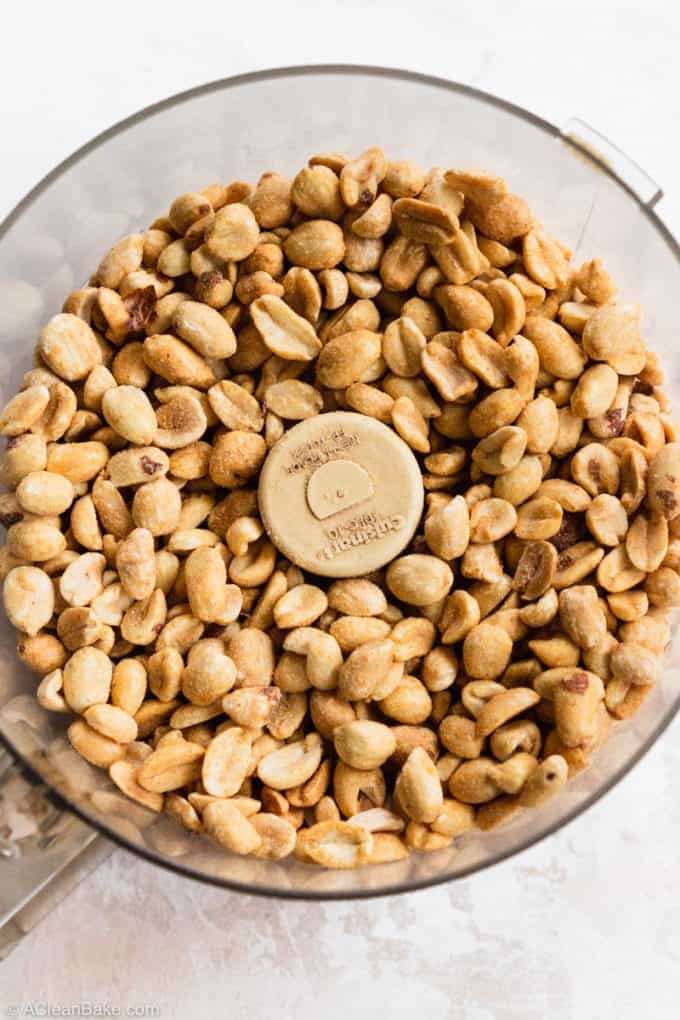
In both cases, make sure you know what to expect, which is that the peanuts take longer than you might think to turn into peanut butter, and go through several stages:
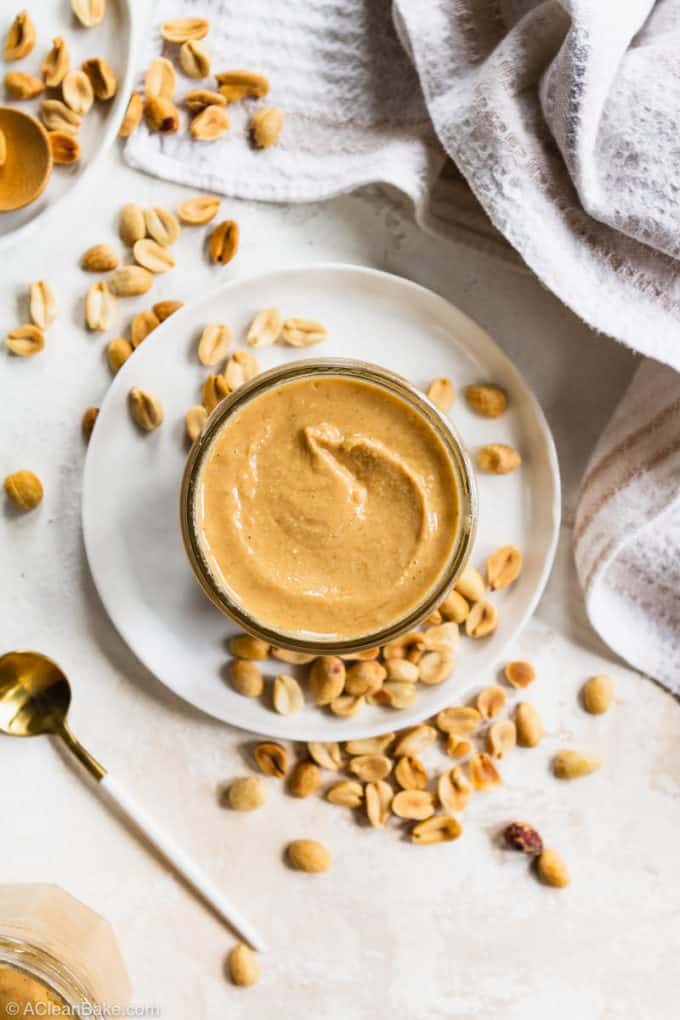
From whole peanuts…
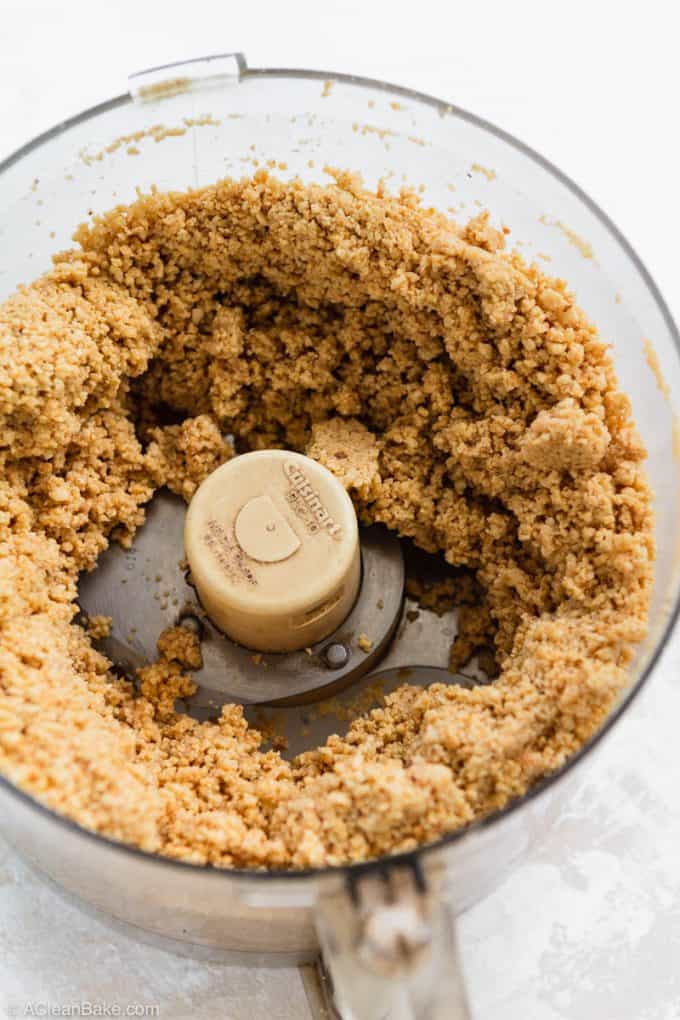
…to chopped peanuts, then finely chopped peanut meal (it will look like coarse sand)…
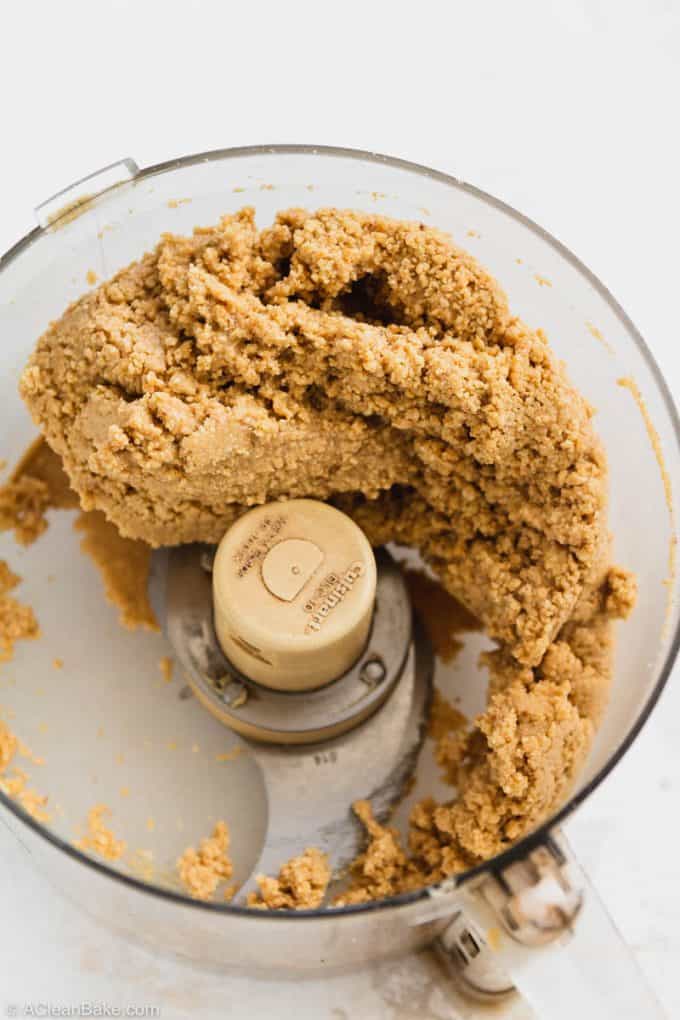
…to a large, sticky pass of peanut debris…
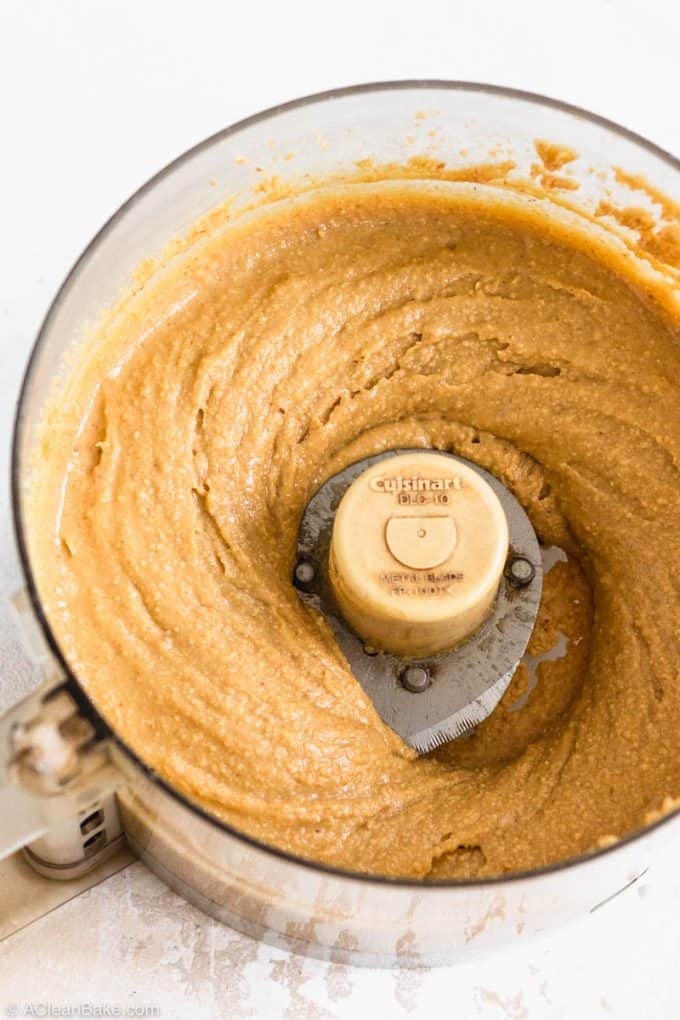
…until all of a sudden they’ll reach a tipping point where enough of the peanut oil has been released and the ball will relax into smooth peanut butter.
Of course, if you want crunchy peanut butter, just stop before the peanut butter process into a completely smooth consistency.
Troubleshooting
The trick to make homemade nut butters is patience. Just keep processing, stopping, scraping down the sides, and processing some more. It will happen.
If your peanuts don’t release from the flour or lump stage into the liquid phase, first try stopping the food processor every so often and breaking up the mass. Sometimes, just loosing it up will give the machine the room it needs to move everything around and break it up.
If your peanuts continue to refuse to release from the ball phase, add a tablespoon or two of oil to the processor while it is running. It will take 3-4 minutes, at least, for the peanut butter to reach a fully smooth consistency. If that’s still not working, you can coax them along by adding flavorless oil (i.e. peanut, sunflower, corn, etc. Do not use coconut because it is not liquid at room temperature) one tablespoon at a time until it loosens up.
You may not need oil if you’re using honey or maple syrup to sweeten the peanut butter. (See below for sweetening instructions.)
What kind of peanuts should you use?
I recommend unsalted, raw peanuts. These peanuts are as un-processed as possible, meaning the only flavor they will contribute is pure peanuttiness, letting you control the rest.
However, if you prefer the flavor of roasted peanuts, you can feel free to use unsalted roasted peanuts for your butter. For reference, the flavor will be more like the unsalted natural peanut butter you get at Trader Joe’s (vs. Smuckers from the grocery store, or the 365 brand at Whole Foods, both of which taste like they’re made from raw peanuts) – a little richer, and deeper – if you use roasted peanuts instead of raw ones.
Either way, double and triple check that you are using unseasoned and unsalted peanuts, so that your peanut butter doesn’t end up tasting too salty or strangely savory. Remember: peanuts that are seasoned to be eaten by the handful are over-seasoned for use in peanut butter.
How to make it your own:
Now that you’ve made your unsalted, unflavored peanut butter, it’s time to spice it up. Literally, if you want :).
At the very least, I recommend adding a pinch or two of salt. Just keep adding one pinch at a time and blend a little bit to distribute it. Then taste, and adjust to your preference. A tiny bit of salt – not even enough to taste “salty – makes the flavor taste fuller in your mouth. Without it, the peanut butter tastes a little flat. Make sure you’re using a finely granulated salt – I like fine sea salt – rather than something coarser like kosher salt, which will make your peanut butter too gritty.
If you’d like to sweeten your peanut butter, you can use a few drops of liquid stevia or monk fruit, or a small drizzle of honey or maple syrup. But remember that liquid sweeteners like honey and maple syrup affect the consistency of your peanut butter (because, of course, they add more liquid), so be very, very careful and use as little as possible, or risk ending up with a terribly runny peanut butter. Do not use granulated sweetener.
Whether or not you’re sweetening your peanut butter, if you plan to use it in sweet recipes like sandwiches, peanut butter cookies, and even smoothies, you can add about 1 teaspoon of cinnamon to the batch – or as much or as little as you’d like. I don’t recommend this if you’re making a batch for general use. For example, if you’re making a savory peanut sauce for dinner, you won’t want cinnamon in it!
Add a little oil (peanut oil, avocado oil, or another neutrally-flavored oil like canola or vegetable oil, if you use it in your kitchen) if you like your peanut butter a little runnier than it ends up. I don’t recommend coconut oil if you’re trying to thin out your peanut butter, because it will be solid or semi-solid at room temperature.
Add some cocoa powder to make chocolate peanut butter. Because cocoa powder is, well, a dry powder, it will absorb a lot of the oil in the peanut butter. In this case, you will want to add some liquid sweetener like honey or maple syrup to balance out both the bitterness and the absorbency of the cocoa powder.
OK this is admittedly more than a little indulgent, but you can add dark chocolate chips or chunks to the processor about 5-10 seconds before it is done, in order to make dessert-friendly chocolate chip peanut butter.
How to store homemade peanut butter
In order to make sure you’re enjoying the best tasting peanut butter you can (after all, you went to all the trouble to make it at home!), start by storing it properly.
Like any other fresh, real food, peanut butter may go back after awhile. But it won’t happen quickly. It’s more likely that you’ll use up your homemade peanut butter while it’s still fresh, or that it will sit around long enough that the oil will start to separate.
What kind of container to use
Store your peanut butter in a clear glass container with an airtight lid. Personally, I prefer to repurpose old glass jars from store-bought peanut butter.
Any airtight jar will do, though, as long as it is thoroughly washed and free of ANY residual food or aromas that will affect the flavor of your peanut butter.
Where to store your peanut butter
Once your peanut butter is successfully transferred to an airtight container, you can store it in the cabinet or pantry, just like you would store bought peanut butter.
Does homemade peanut butter need to be refrigerated?
You know how the label on most natural store bought peanut butter tells you to store it in the fridge? That’s purely for texture. When you chill peanut oil, it semi-solidifies and makes the peanut butter feel thicker. In short, chilling natural peanut butter makes it approximately the same consistency as regular peanut butter with all those additives to make it smooth and spreadable (think: Skippy, Jif, etc.). But chilling doesn’t produce a permanent change. As soon as it warms to room temperature, natural peanut butter will get runny again.
If your peanut butter is made only from ingredients that you got out of the pantry (peanuts, salt, even cocoa powder and honey), you can store it in the pantry, unless you want it to thicken up.
Aside from texture preferences, you should store your jars of peanut butter in the refrigerator if:
- It contains any ingredient that you got out of the fridge,
- You don’t plan to eat it for more than 2 months, or
- It is too runny and you want it to be thicker.
How long does homemade peanut butter last?
In the pantry, your peanut butter will last easily 2 months, maybe more.
By “last”, I mean it will be safe to eat. It may start to separate though. If you start to see oil pooling at the top of the jar, just use a butter knife to stir the entire jar until the oil is incorporated back in. I like a butter knife because it allows to to stir the whole contents of the jar, top to bottom, evenly.
Can you freeze peanut butter?
Technically, yes, but there is no reason to. If you’re worried about preserving it over a long period of time, stash the jar in the back of your fridge. And – I can’t stress this enough – make sure it’s fitted with a tightly closed lid.
Cooking with homemade peanut butter
You can cook with homemade peanut butter the same way you would with store bought natural peanut butter.
Use this peanut butter in any recipes that call for natural nut butters, and beware of using it in some baked good recipes, especially those that call for No Stir or Jiff, or caution against natural peanut butter. Some recipes are formulated to rely on the additives that conventional PBs contain to hold their texture and shape.
You can enjoy this in sandwiches, of course, but if you’d like to get creative, here are some of my favorite (non-sandwich) ways to use homemade peanut butter:
- In smoothies
- In peanut sauce, tossed with gluten free rice noodles
- As a peanut dipping sauce for chicken fingers
- In peanut butter cups (or peanut butter and jelly cups)
- In peanut butter cookies and peanut butter blossoms OF COURSE!
- As part of a sweet snack, in chocolate peanut butter banana bites
- In a hearty breakfast chia pudding
- In healthier peanut butter Easter eggs
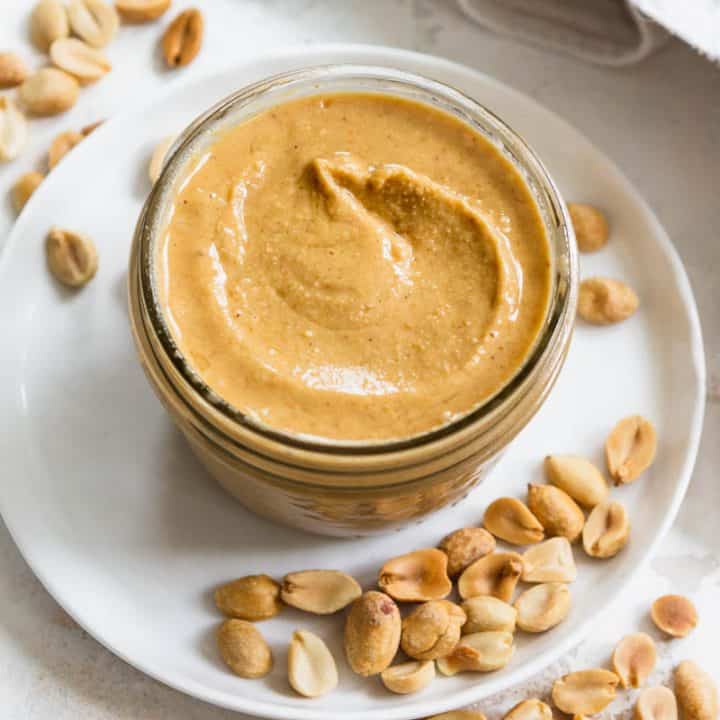
Homemade Peanut butter
Making you own peanut butter at home is one of the easiest ways to keep healthy staples on hand, and save your budget! Homemade peanut butter is quick and easy, you can control the flavors and nutrition, and all you need is a food processor. Plus, you can use this method to make almond butter, tahini, or any other nut or seed butter you want!
Ingredients
- 3 cups dry roasted peanuts, (unsalted and unseasoned)
- 2 Tablespoons honey, (optional)
- 2 teaspoons cinnamon
- Pinch salt, (to taste)
Instructions
- Put all of the ingredients in the bowl of a food processor fitted with the "s" blade, or the canister of a Vitamix or other high speed blender.
- Pulse a few times to break everything up, then run consistently until the ingredients form a gritty meal, then a meal-y mass, then a paste, stopping regularly to scrape down the sides and break up the mass that forms.
- Store in an airtight container at room temperature for up to a month.
Notes
- Please read the post for lots of tips and troubleshooting advice.
- Yield: Approximately 1 1/2 cups of peanut butter
- One serving = 2 tablespoons
Recommended Products
As an Amazon Associate and member of other affiliate programs, I earn from qualifying purchases.
Nutrition Information:
Yield: 12 Serving Size: TablespoonsAmount Per Serving: Calories: 230Saturated Fat: 2gSodium: 254mgCarbohydrates: 11gFiber: 3gSugar: 4gProtein: 8g
[wprm-nutrition-label align=”center”]
Pin this for later:
Nahla says
I loved the recipe will try it right away
Nora (A Clean Bake) says
Thanks, Nahla! I hope you enjoy it.
Elisha @UseHealthTips says
really good recipe and and I made it yesterday only, it turned out to be delicious, just hoping it stays well for a long time
Nora (A Clean Bake) says
It should be fine for awhile. If it separates, just stir!
Ng'ethe says
Tried and loved the results.
Thanks you.
Nora (A Clean Bake) says
Thank you!!
Flo says
Can l use a 6 speed blender for this?
Nora (A Clean Bake) says
Possibly. If you have a professional-grade blender, like a vitamix, it can work. But most blenders are not powerful enough and could burn out so be careful!
Mary says
Can I use a blender?
Nora (A Clean Bake) says
You can if you have a vitamix or similarly high powered machine, but nut butter may burn out the motor of a less powerful blender, so please be careful!