Cast iron cookware is an absolutely essential tool in any home cook’s arsenal. Cast iron is affordable, versatile, durable, and naturally nonstick. All you need to do is to care for your cast iron cookware properly, by cleaning it properly and keeping it well-seasoned, and you’ll be able to keep these pieces for life.
Both seasoning and cleaning cast iron are simple processes that are as easy to understand as they are to perform. Read on to learn how to care for your cast iron so that lasts for decades!
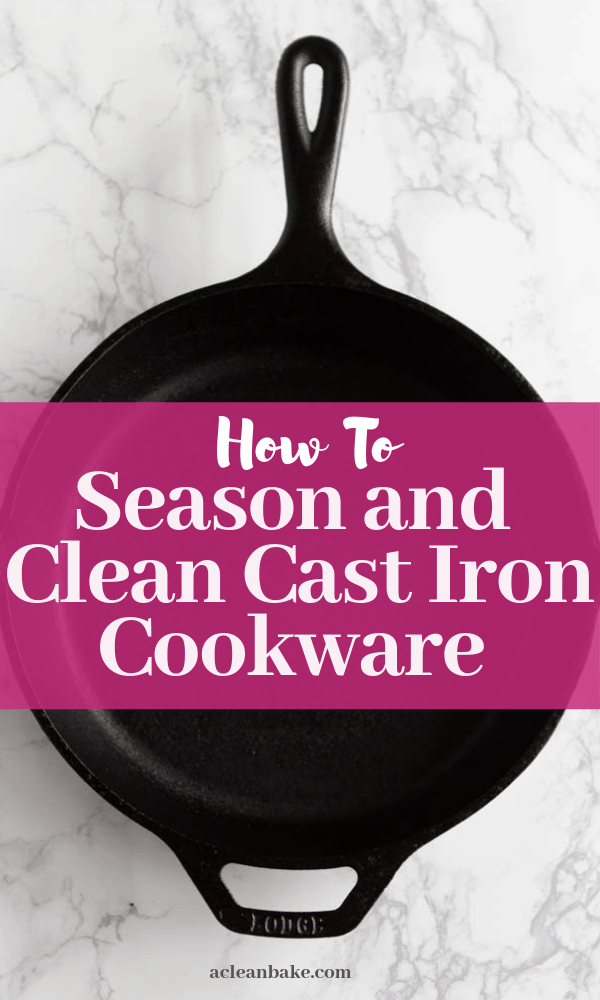
A cast iron skillet is an absolute essential piece of cookware in my kitchen.
Good quality cast iron cookware lasts forever, and gets better with age. I use it for everything from scrambling eggs to sautéing vegetables, searing steak, frying chicken for shawarma, and even making Irish soda bread, cornbread and marinara sauce.
I own four pieces of cast iron cookware (an 8-inch skillet, a 10-inch skillet, a reversible grill/griddle pan, a 12-inch pan with a lid, all from Lodge Cast Iron) and I use at least one of them every day. My 8 inch cast iron skillet almost never gets a chance to be put away in the cabinet and it cost less than $10. I think it’s safe to say it was an extremely solid investment.
Why Cast Iron?
It may seem strange to gush about cookware, but I’m going to do it anyway. I got a small Lodge skillet as a wedding gift, and I found that I was using it for everything. Since then, I’ve added three more pieces of cast iron cookware and those, combined with two stainless steel pots, cover absolutely all of my cooking needs.
It’s Versatile
You can use it as a frying pan, a braising vessel, or a roasting dish.
Cast iron cookware does double duty as both a range-top and oven cooking dish. That means you can get it pretty darn hot without it scorching, and you can transfer it straight from stove to oven, and vice versa. That makes it perfect for braising, searing, and high heat cooking in general.
It’s Affordable
Cast iron cookware is typically under $50; a few fancier pieces, or enameled cast iron (like a Dutch oven). might be $50-$100.
It’s Functional and Durable
The heat retention and heat distribution of cast iron is unlike any other, lighter weight cookware at the same price point. It absorbs and distributes heat evenly, and retains it well for even cooking across the pan and throughout each bite of food. Yes, cast iron is heavy, but you won’t find that from any similarly-affordable pan made from a lighter-weight material.
Cast iron requires just a bit of maintenance throughout its lifetime. But, if cleaned, stored, and used properly, cast iron cookware can last for decades.
Plus, it’s difficult to scratch, easy to keep clean and seasoned, and resists rust, if seasoned properly.
Basically, it’s indestructible.
It’s Healthy
When properly seasoned, cast iron is a naturally non-stick cooking surface that releases food without the use of harmful chemicals used in lighter-weight nonstick skillet.
Seasoning is the process of heating the metal so that it holds fat and changes the surface from rough and matte (which food would stick to) to slick and smooth (which food releases from). So, since your metal is basically absorbing fat to make it slick, no chemicals are necessary.
There’s one more benefit that you might not have thought of: cooking your food in cast iron may provide some degree of natural iron supplementation. Acidic food cooked in (non-enameled) cast iron picks up trace amounts of iron during the cooking process.
In my personal experience, I have never had to take iron supplements in the entire time that I have cooked in cast iron pans – including during pregnancy (when iron deficiency is very common) – whereas before I started cooking with cast iron, I was always borderline-iron-deficient. Again, this is just my experience. Please do your own research and consult your doctor before you change your diet or supplementation routine.
Purchasing the best cast iron skillet for your kitchen
There are a lot of cast iron producers out there, but if you ask me, Lodge Cast Iron brand skillets are the best. Just so you know, this post is not in any way sponsored or endorsed by Lodge. They are the brand I have been using for years and their cookware is really good quality and affordable. That’s why I recommend them. Plus, they’re the oldest American cast-iron cookware manufacturer, which is kind of cool.
However, regardless of what brand you’re interested in, here are some quality characteristics to be on the lookout for when purchasing cast iron:
- Solid cast iron, not some other material coated with cast iron.
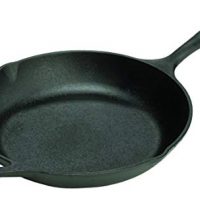
- Sturdy and heavy. It should take both hands, or a little bit of muscle, to pick it up
- Long handle on one side, with a secondary grip (usually a loop-style handle) on the other
- A fitted top is nice to have, but not necessary
- Pre-seasoned is a plus
- Pour spouts are another nice-to-have (Lodge has these)
One you’ve selected and purchased your cast iron cookware, it’s time to season!
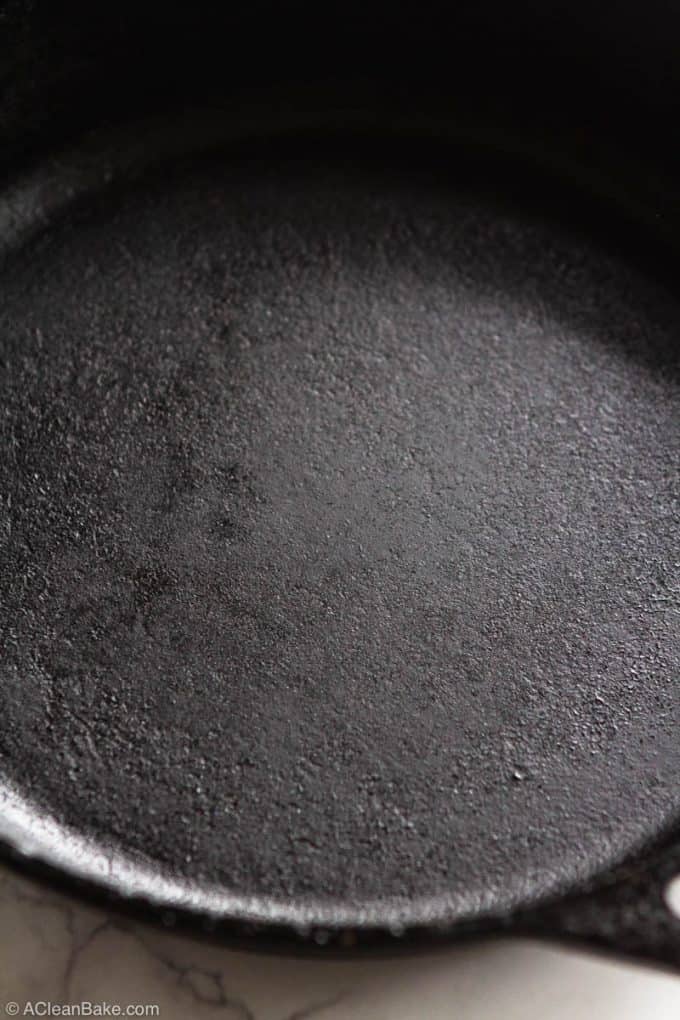
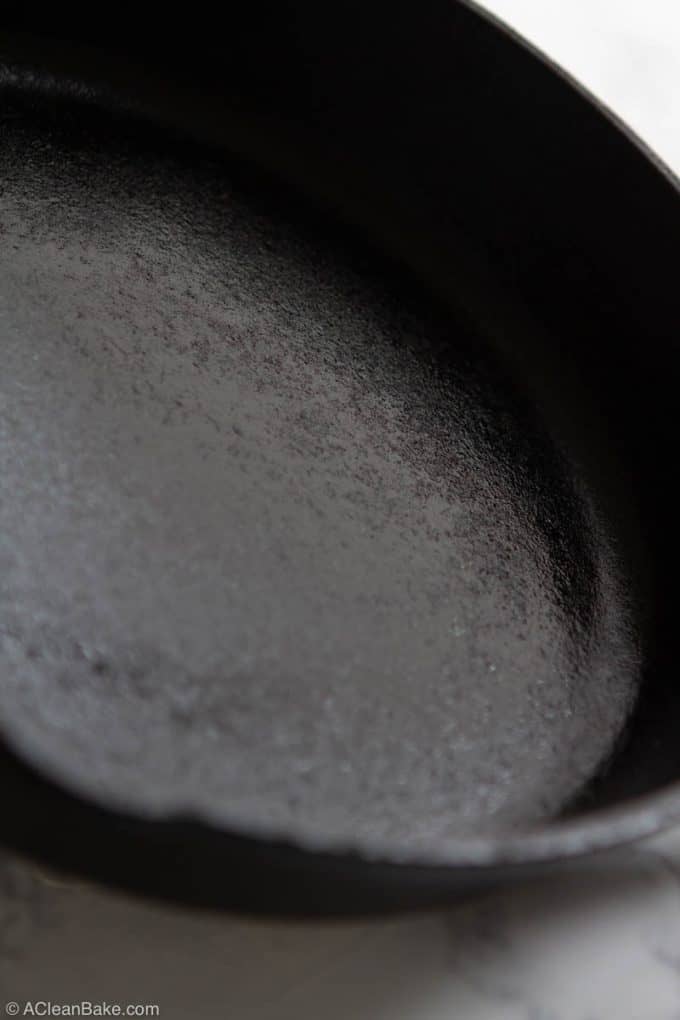
When you start to see matte spots on your pan, it’s time to re-season!
Let’s talk about seasoning cast iron
Cast iron pans have nine lives. You can use them and abuse them and they’ll keep coming back for more, if you know how to clean, store, and (re)season them properly.
The process of making a cast iron pan ready for use is called seasoning, which sounds like you have to swirl a bunch of peppercorns and turmeric powder around in it for awhile or something. But really, it is just a simple process of baking some oil back into it so that it regains its nonstick properties.
Seasoning doesn’t just make old cast iron nonstick again. It is also helpful for making sure a new cast iron pan is ready to use, or for re-sealing a rusty cast iron.
Whether you purchased a pre-seasoned, unseasoned, or even a vintage cast iron pan, you will want to season it to establish a clean, smooth cooking surface.
What is seasoning and pre-seasoning?
Seasoning cast iron is the process of heating the metal so that it absorbs a layer of fat (usually vegetable oil) into its surface. Pre-seasoning the pan before you use it turns the surface of the pan from rough and matte to shiny and smooth, protects against rust, and produces that natural nonstick coating.
Many modern cast iron skillets come pre-seasoned, which means they have already had several coats of fat baked into the cookware before they left the factory. Technically, you should be able to use pre-seasoned cast iron cookware from the moment they come out of the box. But, I find that the factory seasoning often isn’t enough, and food quickly begins to stick. So I like to do a quick seasoning either right before or after using the pan for the first time.
So, yes, you will need to season new unseasoned, new pre-seasoned, and vintage purchases. You will also periodically need to re-season (which is just a question of repeating the process every couple of months, depending on how often you use your pans), in order to re-establish the smooth finish and nonstick surface, and prevent rust.
The only type of cast iron that doesn’t need to be seasoned, or re-seasoned, is enameled cast iron (such as a Dutch oven). This seasoning process does not apply to enameled cast iron.
How to season cast iron cookware
There are four steps to seasoning your cast iron cookware:
- Step 1: Inspect
- Step 2: Clean
- Step 3: Season
- Step 4: Store
You can use this method to season a cast iron skillet, griddle, pot, or other non-enameled cast iron cookware.
Inspect
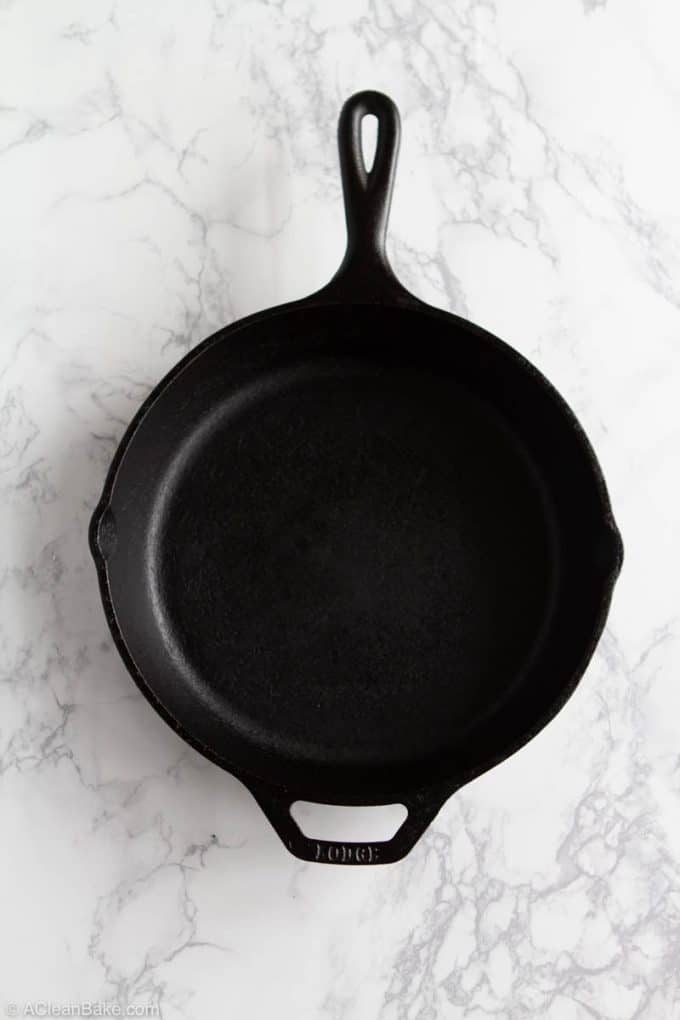
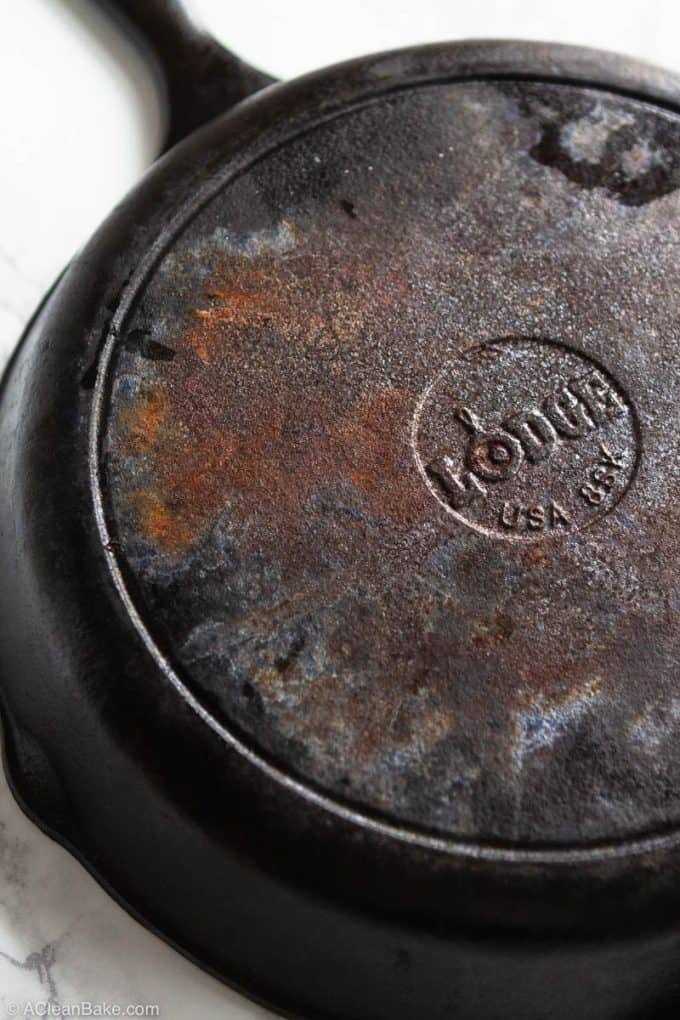
Look closely at the surface of the pan, including the cooking surface, the sides, the handle, and the bottom. Pay particular attention to where you see spots that are more matte and rough-looking, and any patches of rust. You’ll need to pay special attention to those areas.
Clean
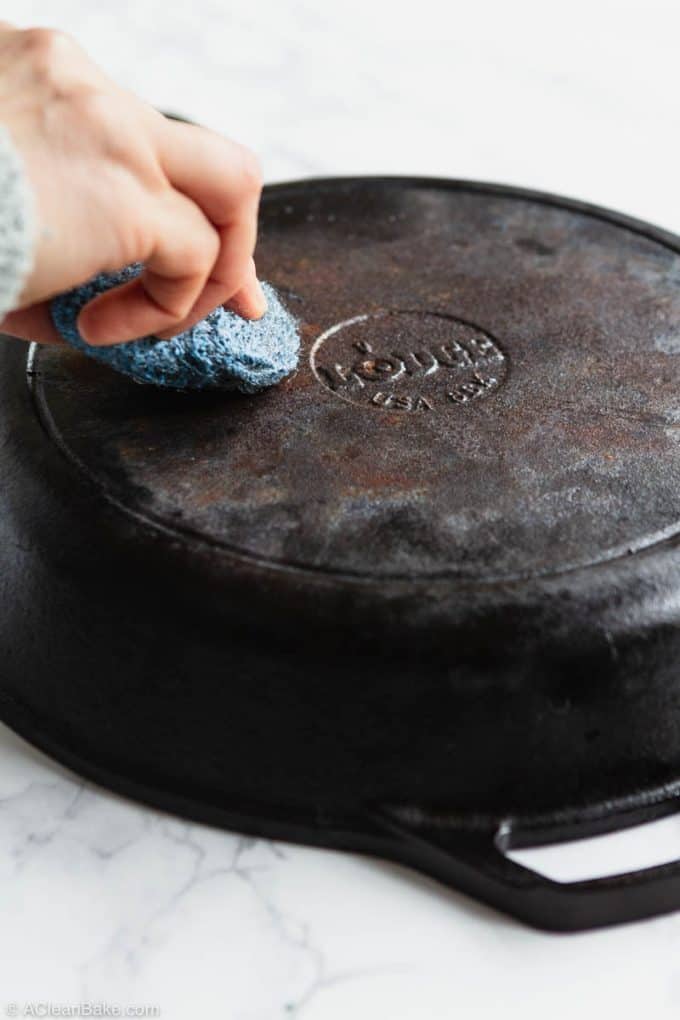
Using warm or hot water and mild soap (yes, you can use soap on cast iron!), wash the skillet well with a clean sponge.
If your pan has any spots of rust on it, use a steel wool pad to scrub it off. You can also use scouring pads for this step.
Rinse well, then dry thoroughly. If the skillet still feels damp, allow to air dry for at least an hour before continuing.
Season
Once your pan is completely dry, preheat your oven to 375°F.
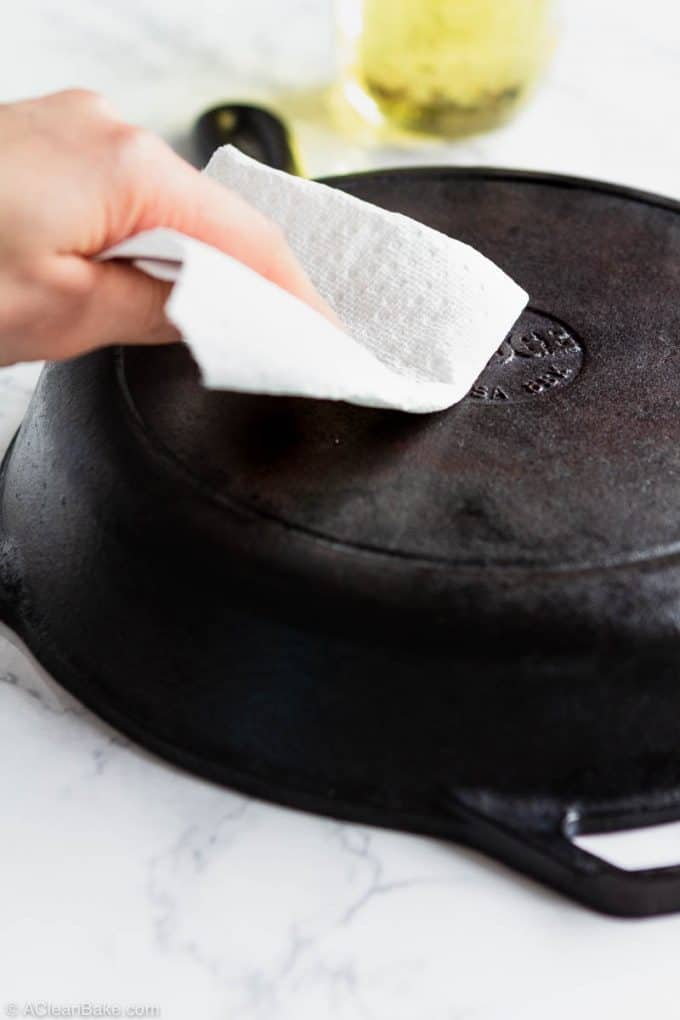
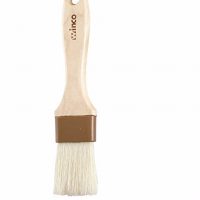
Use a pastry brush, paper towel, or your fingers to cover the entire surface of the pan (including the outside, bottom, and handle) with a thin layer of oil.
You’re going to bake the oil into the pan for a long time at high heat, so you need to use a cooking oil with a high smoke point. Avocado oil is ideal, but that’s expensive. I usually use a cheaper option like sunflower oil, vegetable oil, or canola oil. Do not use unrefined oils, like extra virgin olive oil or flaxseed oil, for seasoning. Save them for cooking.
Place your oiled pan upside down, on the middle rack of your oven. Bake for 45-60 minutes (the more beaten up your pan was, the more time you’ll need. For a routine seasoning, 45 minutes is enough), and allow the pan to cool in the oven.
Store
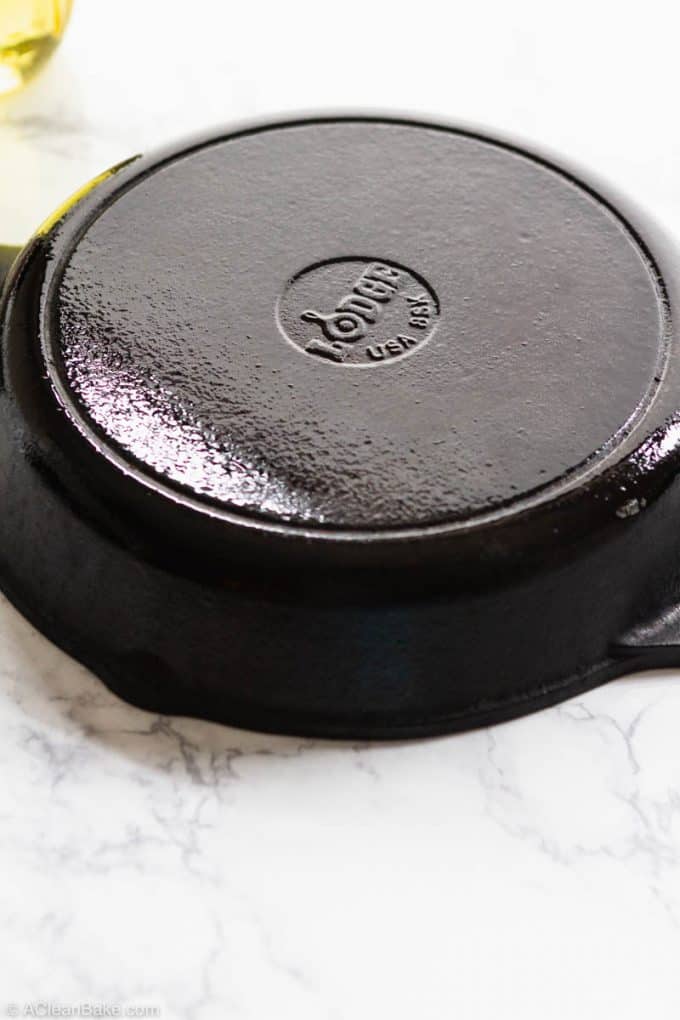
Once the seasoned pan has cooled, examine the entire surface of the pan again. Does it look shiny? Is the color pretty consistently black? Is it smooth to the touch? Great! You’re done. (If you still see matte or rusty spots, just repeat the cleaning and seasoning steps once more.)
If there are sticky parts, that means that some of the oil wasn’t absorbed (likely because you used a little too much. No big deal! Just wash it again with a gentle scouring pad to remove the stickiness, and dry completely.
Your pan is ready to use or store.
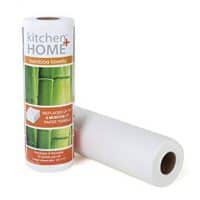
Make sure that your pans are 100% dry before you store them in the cabinet. If you can, store them in a single layer. However, I know that most of us have a lot of cookware, and need to nest and stack to make everything fit. If you need to nest your cast iron pans, make sure you separate them with a clean paper towel or kitchen towel. These reusable bamboo “paper” towels are inexpensive and work great. Nesting your cast iron without a towel between them can trap moisture and invites rust to form.
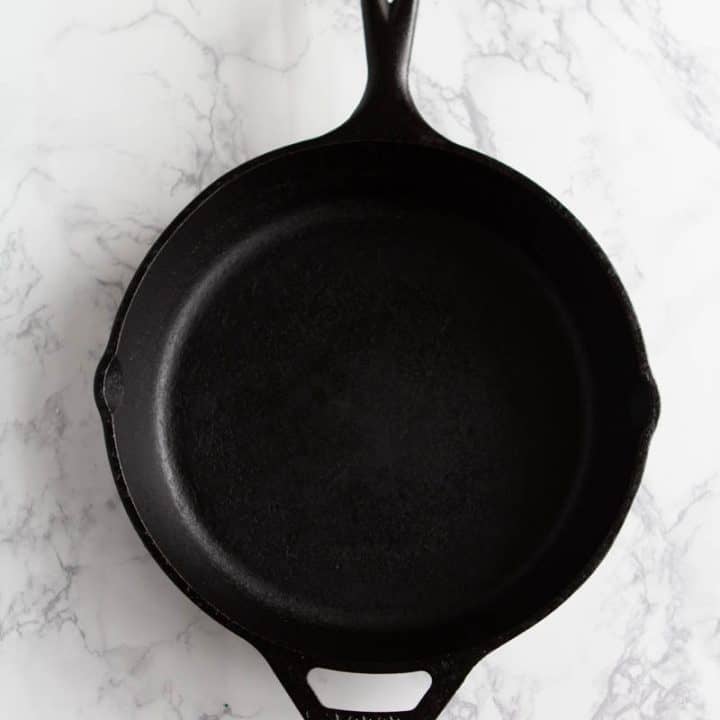
How to Season a Cast Iron Skillet
Cast iron cookware is an absolutely essential tool in any home cook's arsenal. Cast iron is affordable, versatile, durable, and naturally nonstick. All you need to do is to care for your cast iron cookware properly, by cleaning it properly and keeping it well-seasoned, and you'll be able to keep these pieces for life.
Materials
- Cast iron skillet
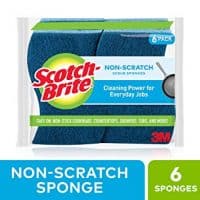
- Non-scratch scrub sponge
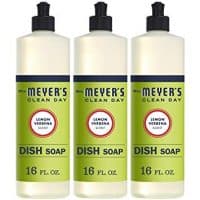
- Gentle dish soap
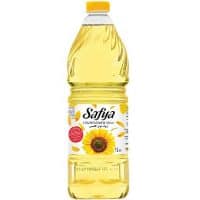
- Sunflower oil or vegetable oil
- Pastry brush or paper towel
Instructions
- Using warm or hot water and mild soap (yes, you can use soap on cast iron!), wash the skillet well with a clean sponge.
- If your pan has any spots of rust on it, use a steel wool pad to scrub it off. You can also use scouring pads for this step.
- Rinse well, then dry thoroughly. If the skillet still feels damn, allow to air dry for at least an hour before continuing.
- Once your pan is completely dry, preheat your oven to 400°F.
- Use a pastry brush, paper towel, or your fingers to cover the entire surface of the pan (including the outside, bottom, and handle) with a thin layer of sunflower or vegetable oil, or some other oil with a high smoke point.
- Place your oiled pan upside down, on the middle rack of your oven. Bake for 45 minutes, and allow the pan to cool in the oven.
- Your pan should be clean, smooth, uniform in color, and slightly shiny. You're ready to get cooking!
Notes
- If you still see matte or rusty spots after the cooled pan comes out of the oven, repeat the cleaning and seasoning steps once more.
- If the pan feels sticky after it comes out of the oven, that means that some of the oil wasn't absorbed, likely because you used a little too much. No big deal! Just wash it again with a gentle scouring pad to remove the stickiness, and dry completely.
- Make sure that your pans are 100% dry before you store them in the cabinet. If you can, store them in a single layer. However, I know that most of us have a lot of cookware, and need to nest and stack to make everything fit. If you need to nest your cast iron pans, make sure you separate them with a clean paper towel or kitchen towel. These reusable bamboo "paper" towels are inexpensive and work great. Nesting your cast iron without a towel between them can trap moisture and invites rust to form.
Recommended Products
As an Amazon Associate and member of other affiliate programs, I earn from qualifying purchases.
FAQs
When do you need to re-season a cast iron skillet?
You’ll need to repeat the seasoning process any time you:
- Scrub your pan just a little too hard, although this is usually to remove stuck-on food that only stuck because the pan needed to be re-seasoned in the first place (so, chicken and egg!)
- When the finish looks matte or you see rust.
- When you cook with a lot of liquid or acidic foods.
How to Clean a Cast Iron Skillet
Cleaning the skillet properly after use is the best way to prolong the periods between seasonings.
Cleaning cast iron should be an easy process, and is shouldn’t take more than some warm water, a bit of gentle dish soap, and a sponge or gentle (non-metal) brush to wipe out the remnants of whatever was last cooked in the pan. If your skillet is properly seasoned, and you’re using an adequate amount of fat during cooking, food should not stick to the skillet.
Remember, cast iron becomes nonstick from baked-in fat, so too much scrubbing and grease-cutting dish soap can render them dull and, well, non-nonstick! It sounds sort of counter-intuitive, but you don’t want the pan to get too clean, because it will lose its stickiness. Just clean it normally with a sponge and mild dish soap.
But things happen and food will stick from time to time. Unlike stainless steel, which you’d soak, you will need to scrub stuck food off of your cast iron skillet. DO NOT SOAK YOUR SKILLET!
To remove stuck-on food, first try hot water, mild dish soap, and a non-scratch sponge. If that doesn’t loosen all of the food, sprinkle a layer of table or kosher salt over the cooking surface of the pan, as a gentle abrasive, and rub with the sponge. If you’re still unable to get the food off, try balling up a piece of tinfoil (aluminum foil) and use that to scrub, in place of the sponge.
Once you’ve gotten the food off of the cooking surface of the pan, make sure to follow the process for cleaning cast iron, described above, to re-establish the non stick surface of the pan.
How to remove rust from cast iron
As described above, scrub any visible rust spots with steel wool to remove, then wash and dry thoroughly, and reseason the pan. Rust is an indication that your pan is not well-seasoned, since the seasoning process seals the cast iron material, and any rust indicates that moisture is still getting in.
Rust will only get worse with time, so make sure you are removing and re-seasoning as soon as you see a significant rust spot.
What can you make in a cast iron skillet?
One of the reasons I love cast iron cookware is that, with just a few pieces, you are able to make a huge variety of foods.
An 8-inch cast iron is great for scrambling eggs, heating up corn tortillas, making pancakes, and toasting grilled cheese.
A 10 or 12 inch cast iron skillet is good for making French toast, sautéing vegetables, shallow-frying just about anything, and making cornbread.
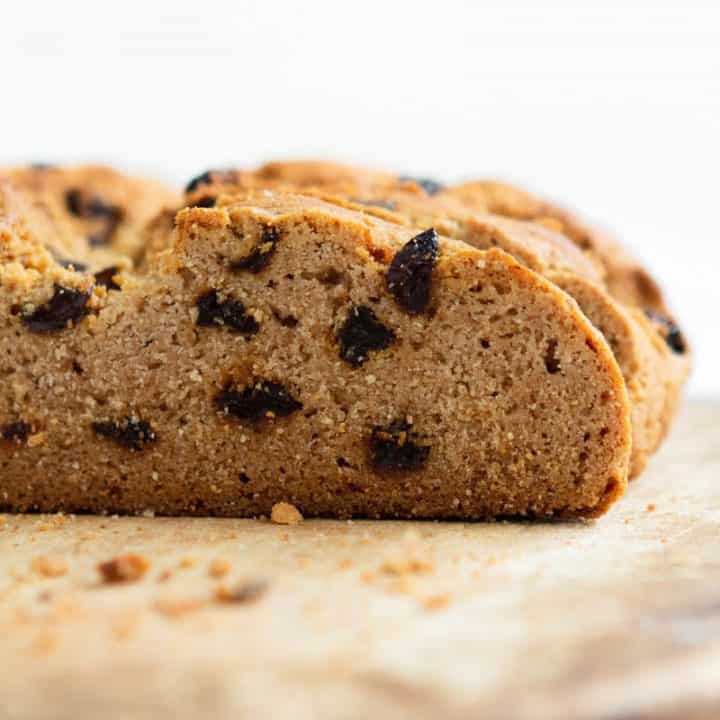
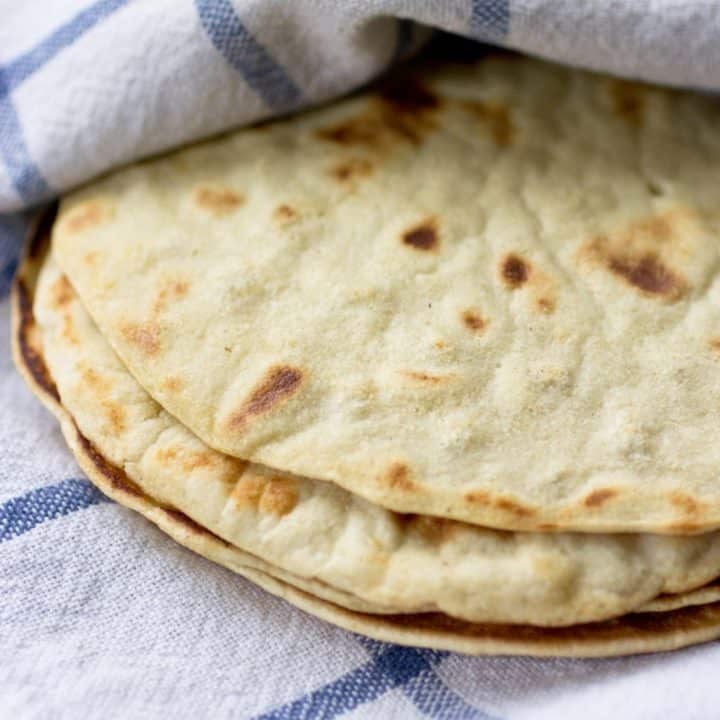
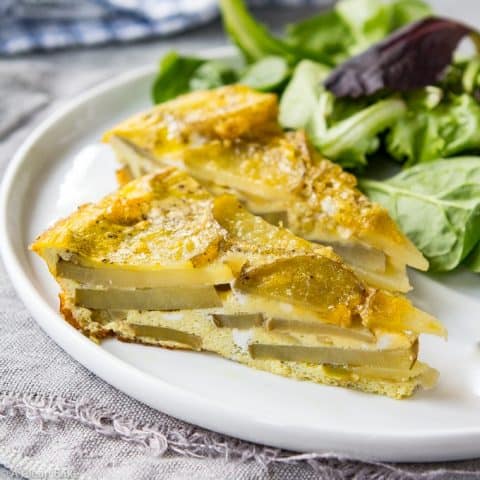
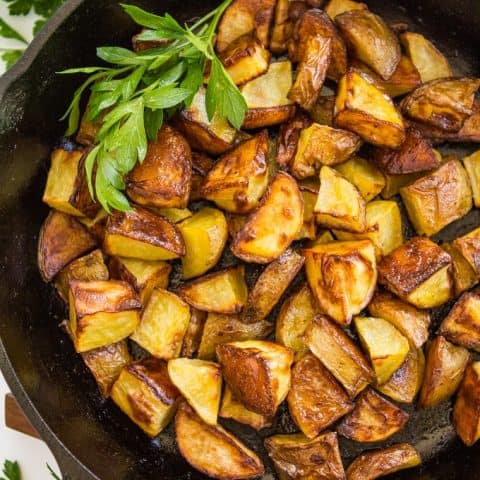
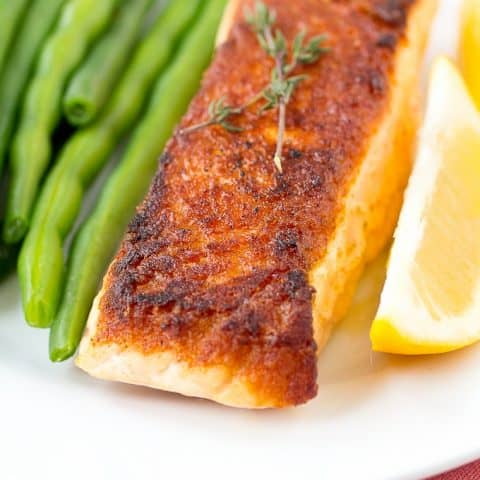
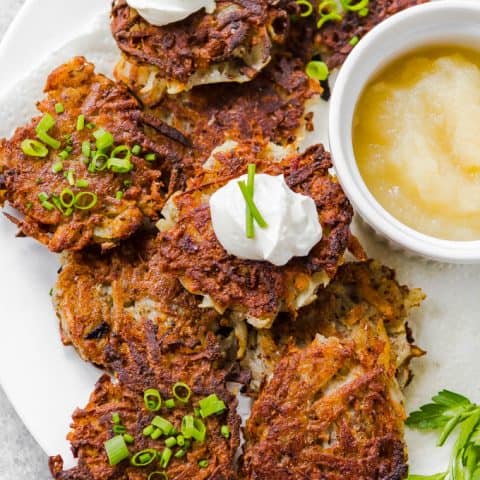
There is almost no limit to the variety of recipes you can make with cast iron cookware! Slow cooker chicken shawarma combines the ease of a slow cooker meal with the complex flavor of a slow-roasted middle eastern chicken feast! This is a quick version of the middle eastern favorite: the slow cooker does a lot of the work and it can be prepped ahead of time. Various serving options make this sensational paleo and gluten free dinner recipe adaptable for low carb and Whole30 compliance, too! Easy to make and impossible to stop at just one slice, this paleo and gluten free Irish soda bread isn’t just for St. Patrick’s Day. You’ll love it all year round! Grain free tortillas are easy to make with a few simple ingredients and a pan. No grains, gluten, diary or nuts, and there is an egg free/vegan adaptation option in the recipe notes. These grain free tortillas truly are for everyone! Now you can have tacos again! Throwing together a quick marinara sauce is the easiest way to spruce up an otherwise boring dinner. My version may not be authentic, but it is versatile, made from pantry ingredients, and only takes 30 minutes. When you have to get dinner on the table STAT, start with this gluten free, paleo, vegan, and Whole30 friendly sauce! A Spanish tortilla is a baked egg and potato omelette which is far more than the sum of its parts. It’s a perfect quick dinner or easy brunch dish. Going grain free doesn’t mean you have to give up on your favorite comfort foods. These paleo and gluten free biscuits make a great morning nosh, or accompany a delicious dinner. They’re easily adapted to be dairy free, too. These roasted potatoes only require three ingredients and a quick bake in the oven. No fancy tricks or high maintenance steps required! This might just be the perfect roasted potato recipe. If you’re confused about how to pan sear salmon, or intimidated by the process, this recipe is for you! Perfect seared salmon is so simple to make that it is perfect for busy weeknights. You’ll need a good piece of fish, a sturdy pan, and a little patience – but that’s it! Wait until you discover just how easy it is to make crispy, perfectly seared salmon at home. There are plenty of recipes for potato latkes out there, but this one is special because these potato latkes contain NO gluten, grains, eggs, or dairy!Cast Iron Skillet Recipes
Slow Cooker Chicken Shawarma
Paleo & Gluten Free Irish Soda Bread
Gluten Free & Paleo Tortillas
Quick Marinara Sauce (in 30 Minutes or Less!)
Spanish Tortilla (Tortilla de Espanola) aka Spanish Baked Omelette
Paleo & Gluten Free Biscuits
Perfect Roasted Potatoes
Perfect Seared Salmon
Paleo & Vegan Potato Latkes


Julie @ Cooks with Cocktails says
Thanks for this! I just got a cast iron pan and im super excited to use it, but I knew that I needed to season it first, but didnt have the first clue how! Now I know!
Nora (A Clean Bake) says
Oh I’m happy I could help, Julie! It’s honestly so easy.