
I’m starting to really miss cooking. There’s nothing more calming at the end of a busy day – to me, anyway – than putting together a nice, but non-fussy meal that tastes great and leaves you feeling relaxed and satisfied. Unfortunately, that one-calming task has been super stressful lately with lots of travel, work deadlines, wedding excitement (a friend’s, not mine, although mine and my husband’s first anniversary was in there too), and, of course, the mounting chaos of the ongoing renovation. We’re nearing the end of the renovation, thankfully for me because I am clinging to my sanity by a thread (those who know me know I like order!) and for you because (a) I’m sure you’re hankering for some sweets by now and (b) you might be getting a bit sick of listening to me talk about my KIL (Kitchen In Limbo).
Nothing is happening in the kitchen this week until Friday, when we’re scheduled to get our countertops (hooray!). I’ll have a full update for you next week, but until then, it’s safe to assume that the amount of actual cooking going on over here is less than I would like. You try washing your dishes in the bathroom sink for months and see how much fun cooking is 🙂 Luckily, I have a freezer, which I am basically worshipping at this point. Prior to the start of the project, I got into the habit of making extra portions of meals and freezing them, and each time I’ve cooked in our living-room-campsite kitchen, I’ve done the same. As a result, I’ve gotten pretty good at freezer-based meal planning and I want to share with you just how easy it can be.
The upside of this meal plan is that you can easily do this a few weeks before you need the meals, and you can even double the recipe and eat half now and freeze the other half for a busy week you have coming up, the week you get home from a trip (I don’t know about you, but home cooked food is all I want after a trip, whether it is a few days of eating out, or a few weeks), or for someone else who has their hands full with a new job, home, or baby.
So, just in time for weekend meal prep (for those of you who do that!), here is your week of make-ahead paleo freezer dinners!
Sunday
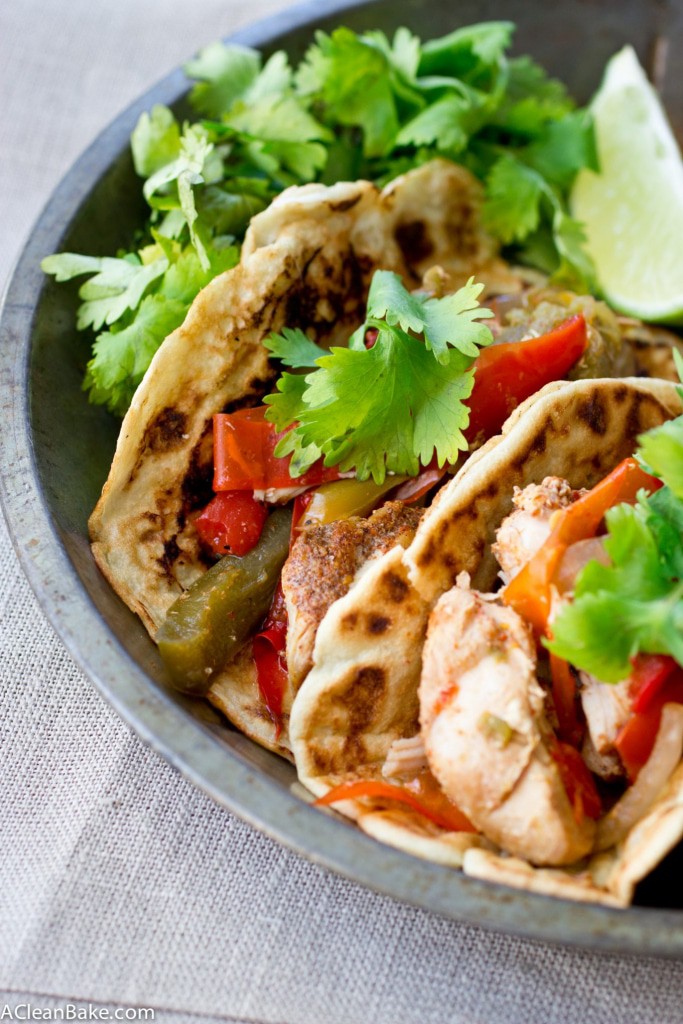
Fajitas
How to prep it: Follow the recipe for the slow cooker chicken fajitas (feel free to replace the chicken with another meat, if you prefer) and let them cool completely.
Make a batch of paleo tortillas, too, though if you are pressed for time, you can use store bought corn tortillas instead. If you’re making them, cool them in a single layer on a rack.
How to freeze it: Transfer the filling mixture to a large airtight container, or a sturdy zip top freezer bag. Leave at least an inch empty at the top of the container or bag for the liquid to expand. Place the container upright in the freezer, and if you’re using a zip top bag, you can store it upright or flat (which is more efficient, space-wise).
To freeze the tortillas, place a large piece of wax paper in the bottom of a zip top bag laying on its side. Add a tortilla on top of the paper, then another piece of paper, another tortilla, and so on, until you have filled the bag. Carefully squeeze to remove the air, seal the bag and place it on its side (so the tortillas are laying right) in the freezer. If you are using store bought corn tortillas, simply place the entire package in a zip top bag, squeeze excess air out, seal and freeze on its side.
How to defrost it: On Friday, put the fajita mixture in the refrigerator to defrost. When Sunday night rolls around, simply pour the mixture into a microwave-safe bowl and reheat on high for 2ish minutes (it will depend on your microwave), or you can reheat it on the stove in a lightly greased, covered pan over medium high heat. I usually just save time and use the microwave! Assemble and serve the fajitas according to the recipe instructions.
Monday
Frittata
How to prep it: Mix and bake your favorite frittata recipe (like this one with beet greens, these minis or this one that is packed with veggies). Remove it from the pan and cool completely.
If you want to make it more quiche-y, bake it in a crust using this method. Just know that the crust may be a little soft after the quiche is frozen and defrosted.
How to freeze it: Once it is completely cooled (to room temp at least, or pop it in the fridge for a few hours or overnight), wrap it tightly in 1-2 layers of plastic wrap. Then put the whole thing in a zip top bag. If you can’t find a zip top bag big enough to fit the entire quiche, try cutting it in half, or even quarters, before wrapping and bagging it. Press the air out of the bag and seal it tightly.
How to defrost it: If you are planning ahead, just transfer it from the freezer to the fridge for 24-48 hours before you want to eat it. But if you’re in a hurry, you can remove it from the freezer, unwrap it, and microwave it, in 1 minute intervals (the exact time will vary based on the size of your pieces), until warmed through. Note that it will release some water as it defrosts, so make sure you are heating it in a dish with sides to catch the excess moisture.
Tuesday
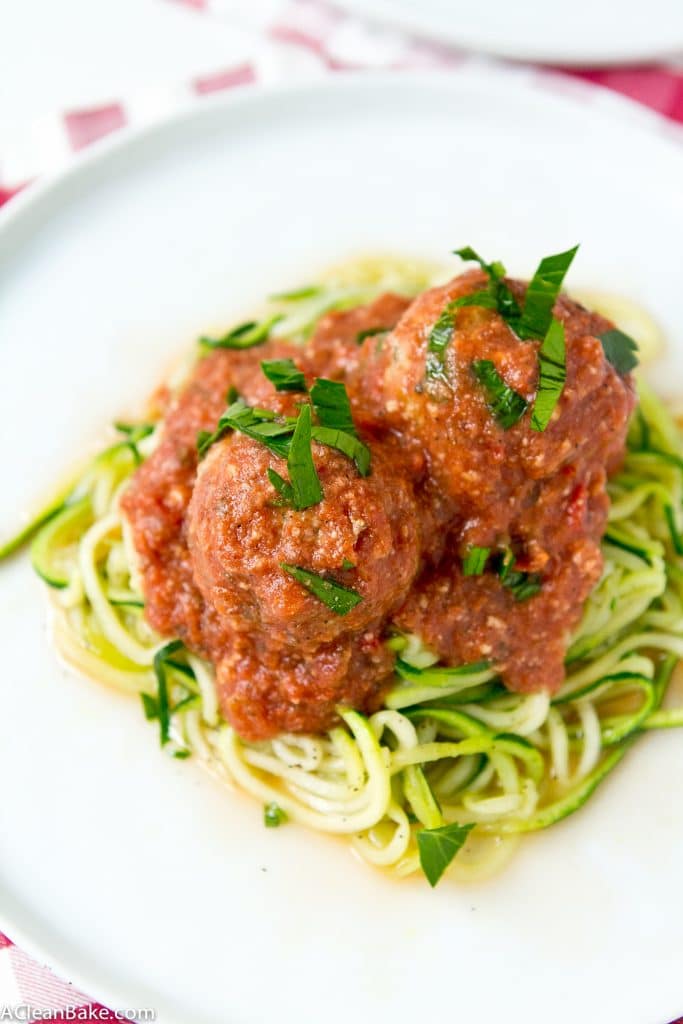
Spaghetti Squash and Meatballs
How to prep it: Prepare the meatballs according to this recipe (or your favorite recipe) and cool them on a plate lined with a few layers of paper towels (if you fried them; this absorbs excess oil) or on a baking sheet (if you baked them).
If you want to use gluten free pasta, make it, drain it and toss it with about a Tablespoon of olive oil to prevent sticking. If you prefer to use spaghetti squash, steam, roast or microwave it to cook it through. My preference is the microwave: halve and heat on high with 1-2 inches of water in the bottom of the bowl until fork tender. It usually takes 15-20 minutes, and you can speed it up by cutting the squash into 4-6 pieces. Carefully remove it from the microwave, let cool slightly, scoop out the flesh (discarding the seeds) and toss with olive oil, salt, pepper, garlic and red pepper flakes to taste. Set it aside to cool completely.
How to freeze it: Place the meatballs in a single layer in a wide, flat airtight container or in a zip top bag. Remove as much of the air as you can, seal tightly, and lay flat to freeze. To freeze the cooled pasta or squash, select an airtight container that the pasta/squash can fill almost completely (ideally, leave just one inch of room at the top), fill it and seal it.
How to defrost it: Place the meatballs in the refrigerator to defrost 2 days before you want to eat them. To reheat, place them in a heatproof pan and cover with tinfoil. Bake at 350 just until heated through. You can also microwave them, if you’re in a hurry. The pasta or squash can also be microwaved to defrost and reheat.
Wednesday
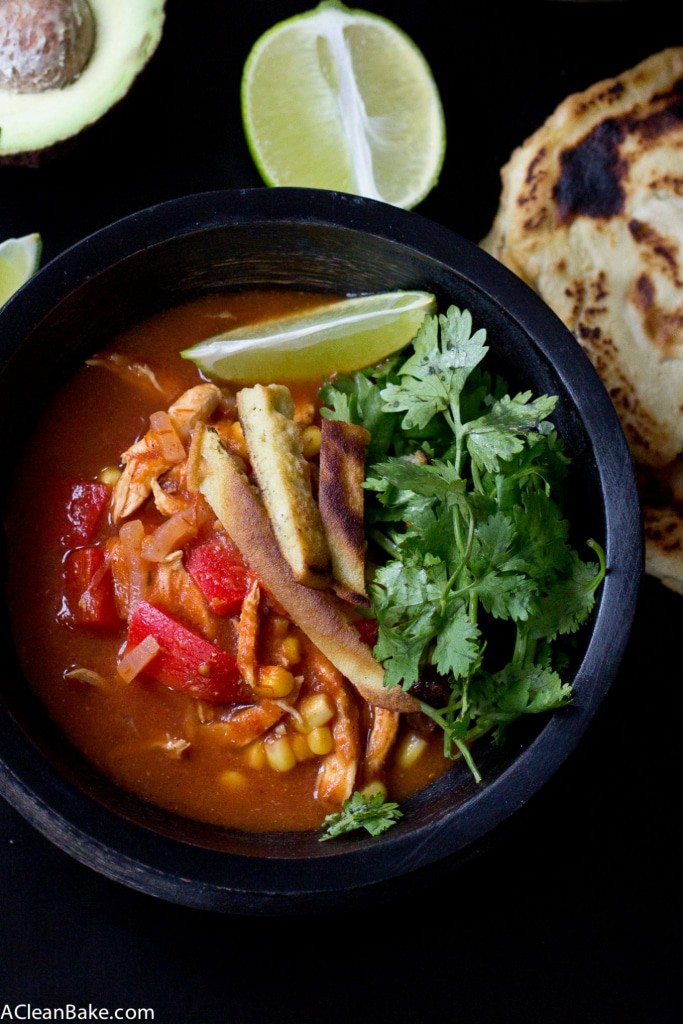
Chicken Tortilla Soup
How to prep it: Follow the recipe up through step 5.
If you’d like to make grain-free tortillas, too, follow the recipe and cool them in a single layer on a rack.
How to freeze it: Cool and transfer to an airtight container (or several), filled to 1″ below the top. Seal tightly and freeze. To freeze the tortillas, stack them on top of each other (with a layer of parchment paper in between) in a zip top bag, gently squeeze out the air, seal, and freeze laying flat.
How to defrost it: Leave the frozen soup out at room temperature for an hour or two, so that it defrosts around the edges and can be slid out of the container and into a pot. Turn up the heat to medium high, cover and heat through until simmering.
To defrost the tortillas, it’s best to leave them out at room temperature, but you can also microwave them for about 20-30 seconds to reheat them quickly.
Thursday
Crockpot Pork Chops with Apples and Onions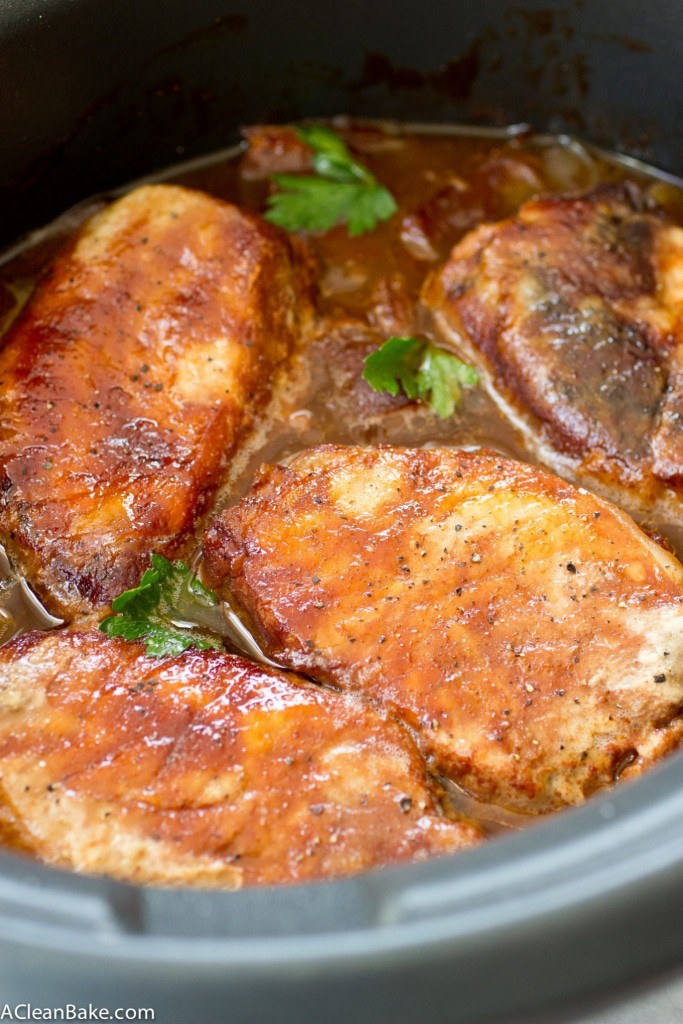
How to prep it: This one couldn’t be easier! Just follow the recipe and let it cool.
How to freeze it: Tightly seal the pork, apples, onions and sauce in an airtight container or zip top bag, ideally in a single layer.
How to defrost it: Leave the container in the refrigerator for 2 days before you plan to serve the meal. To reheat, microwave or pan fry with a bit of oil (to prevent the sugars in the sauce from caramelizing and shellacking to the pan) over medium heat, until warmed.
Friday
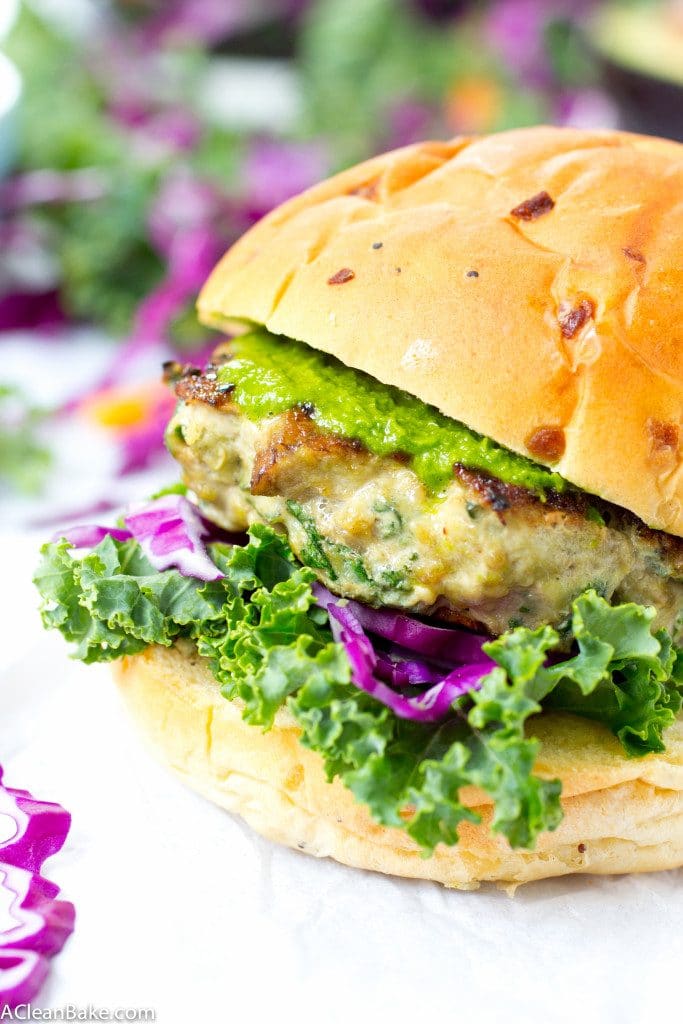
Burgers
How to prep it: Make the burgers according to the recipe (any kind of burger will work for this. There are turkey, tuna, and veggie burger options on this site, or use your favorite). Make them and cool them in a single layer.
How to freeze it: Line the bottom of a short, wide container with wax paper. Lay the burgers out in a single layer. (If you don’t have enough room, stack the extra burgers on top of one another with a layer of wax paper in between.) Get as much of the air out of the container as possible before you seal it shut.
How to defrost it: Leave the container in the refrigerator for 2 days before you plan to serve the meal. To reheat, microwave or pan fry with a bit of oil (to prevent sticking and re-establish the crust) over medium heat, until warmed through.
Saturday
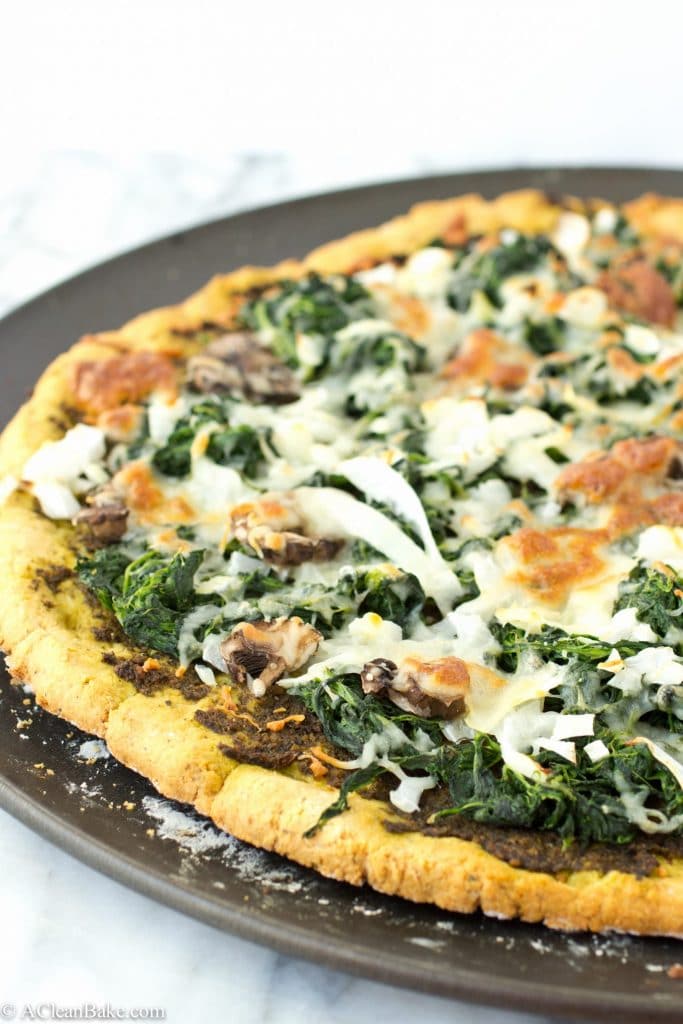
Pizza
How to prep it: I recommend only making the crust ahead of time. Follow this recipe through step 6, but make two smaller crusts instead of one large one, and let the crust cool.
How to freeze it: Cover crusts tightly with 2 layers of plastic cling wrap. Because you made smaller crusts, you should be able to fit each one into a large zip top back. Press the air out of the bags, seal, and freeze laying flat.
How to defrost it: Leave the bags with the crusts in them on the counter to soften. You can use both or one at a time. When the crust(s) reach room temperature, preheat the oven to 450, top and bake (according to steps 7 and 8 of the recipe).
You’re done! Here’s to a tasty week!


Monica says
What a handy list of freezer dinners! Keep hanging in there; soon your beautiful kitchen will be complete and I can’t wait to see what you have cooking/baking for us when that time comes (: Have a great weekend!
Nora (A Clean Bake) says
Thanks, Monica! I hope you had a great weekend!
Becky Winkler (A Calculated Whisk) says
I love this so much! I’m really new to making things ahead and freezing them, but with work being so busy, I need to get on it. Pinning 🙂
Nora (A Clean Bake) says
Thanks for pinning, Becky! Good luck with the prep – most of these recipes can be doubled so you can stock your freezer!
Kristen says
Where is the recipe for the Crockpot Pork with Apples and Onions? Am I missing it? I don’t see the link.
Nora (A Clean Bake) says
You can click on the picture for the recipe!